

Let’s set up Xen Orchestra to help us create and manage Virtual Machines. We will use Xen Orchestra in place of XCP-ng Center. Check out their homepage.
<< Previous Configure XCP-ng
Create Virtual Machine
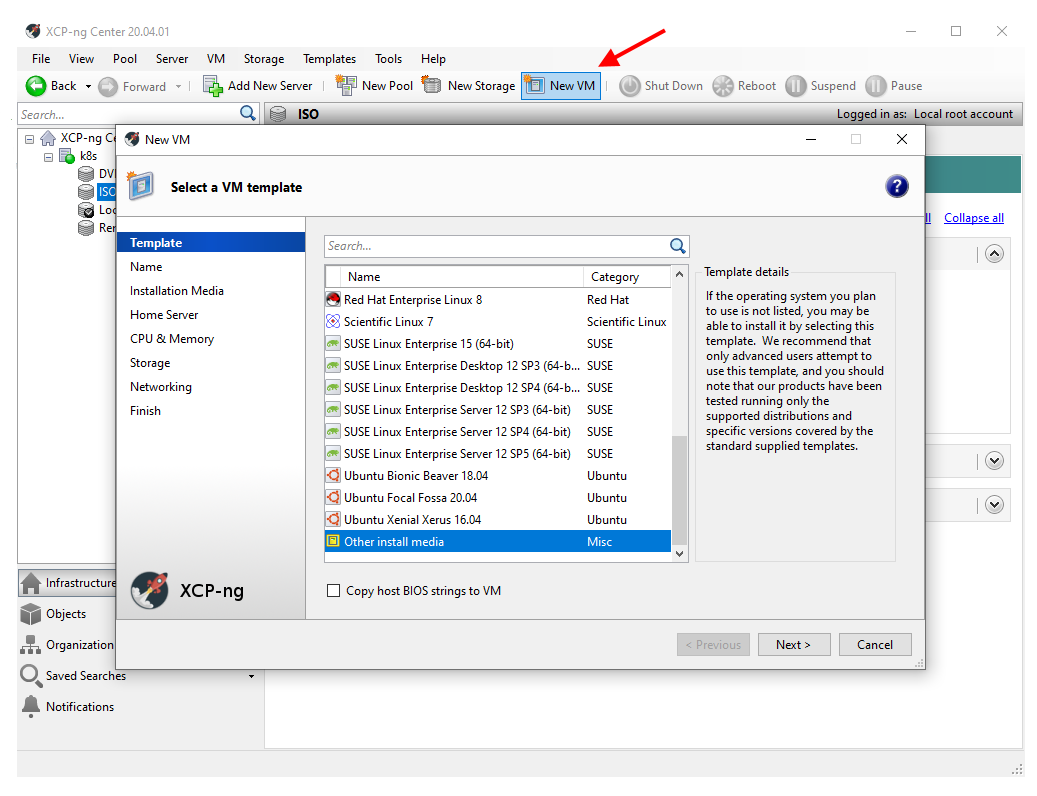
Back in our XCP-ng Center application, click on “New VM” to start the create of a new virtual machine. This will open up the VM Creation Wizard that will walk us through creating our first virtual machine.
We are going to create an Ubuntu Server VM, so we need to choose “Other install media” from our VM Template Selection options.
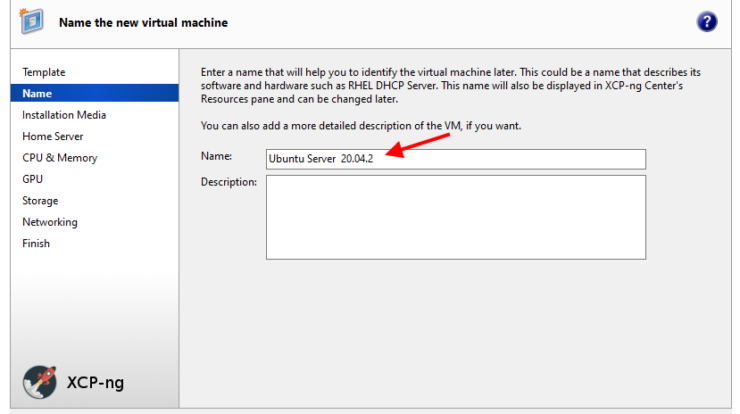
Next, I decided to name my VM “Ubuntu Server 20.04.2”. Later I will show how I changed the name of this VM to “Xen Server” instead of the Ubuntu OS and version. If you want, you can name your VM something different here right away.
Select ISO To Install From
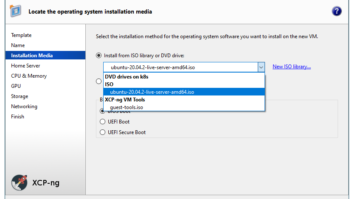
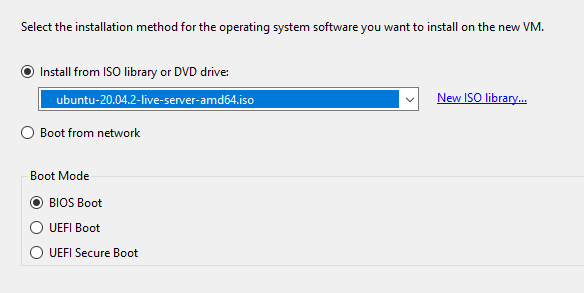
The following step, we choose that we will install our OS from our ISO library that we created in our last post. In the dropdown, you can see our Ubuntu Server ISO file that we also uploaded to our XCP-ng server. Go ahead and choose this ISO.
Also here, I have left my Boot Mode at the “BIOS Boot” default.
For our Home Server selection, you can see that our XCP-ng server named “k8s” is selected for us.

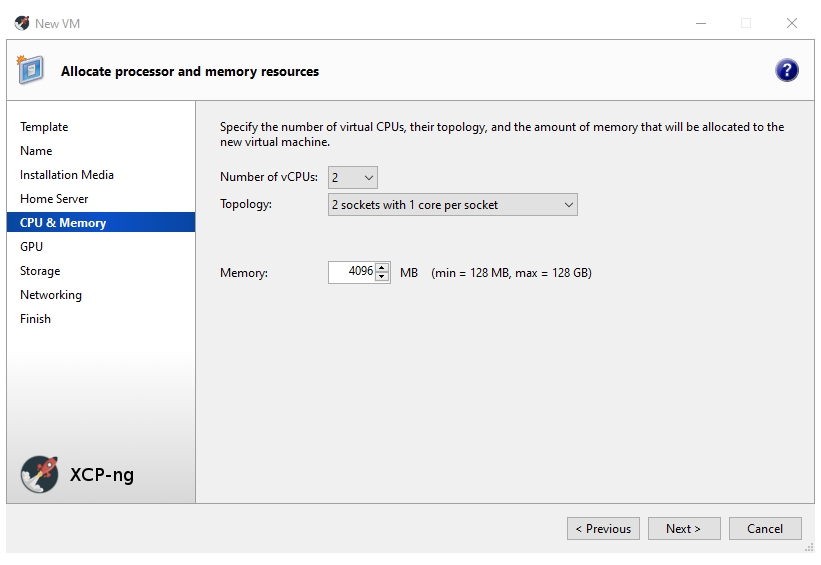
In this step, I have chosen to give my VM 2 CPU’s and 4gbof memory. My server has 32gb of available memory.
Because my server hardware is an older SuperMicro machine, I don’t have a GPU card and I don’t have drivers for the onboard GPU, so this step is easy! Time to move on!
Configure VM Storage
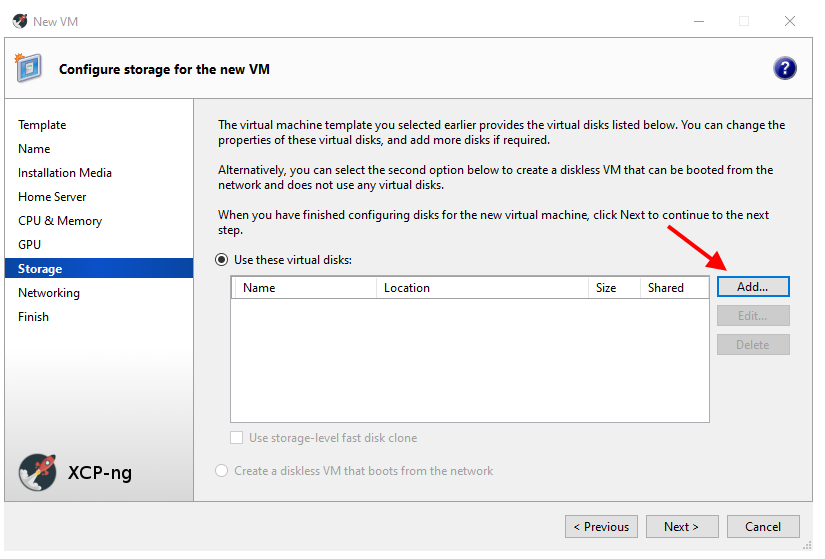
We may need a little extra step here. We need to add a Virtual Disk for our VM. Choose the “Add…” button here.
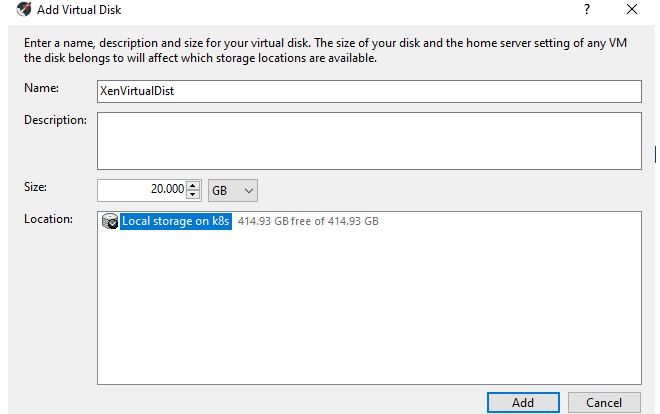
Let’s name our VM’s disk “XenVirtualDisk”. Then, depending on how much storage you have available to you, set the size that you would like for your disk. I doubt that Xen Server will need a huge amount of disk space so I decided to allocate 20gb for this disk. Click on “Add” here to get back to the Storage step and you will see the details of your new disk. Also note that I did not check the “Use storage-level fast disk clone”.
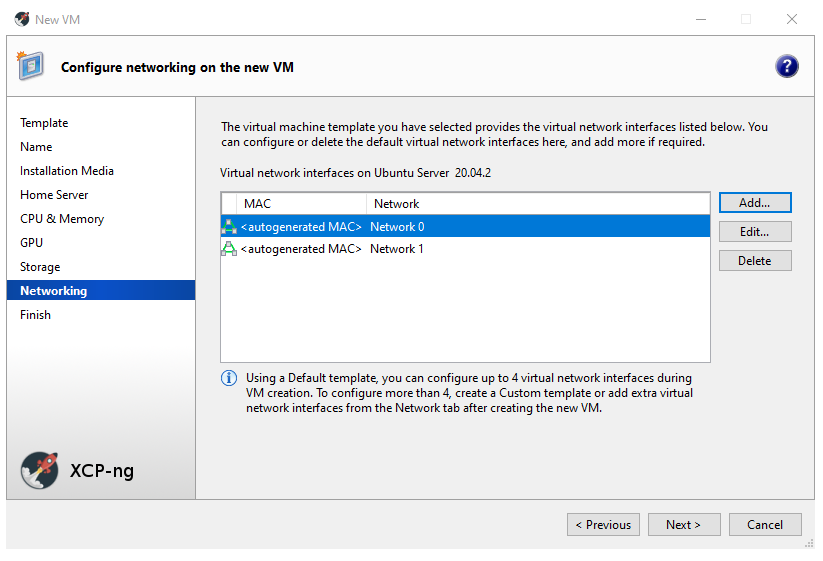
Moving on then to the Network setup. Here, I am not assigning my own custom MAC addresses, so I will not adjust anything on this step.
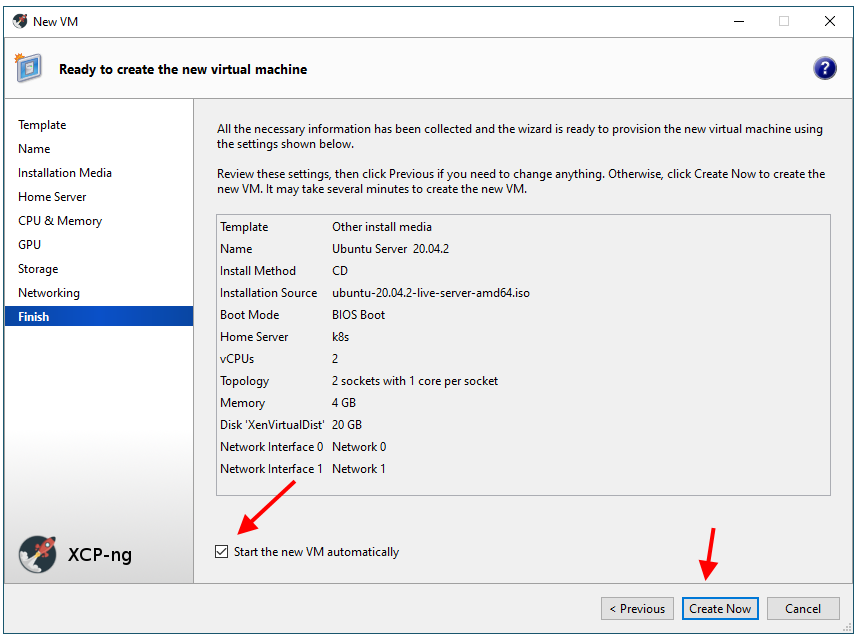
And here we are! Select the option to have the VM start automatically and hit the “Create Now” button.
Create Virtual Machine – Let it run!
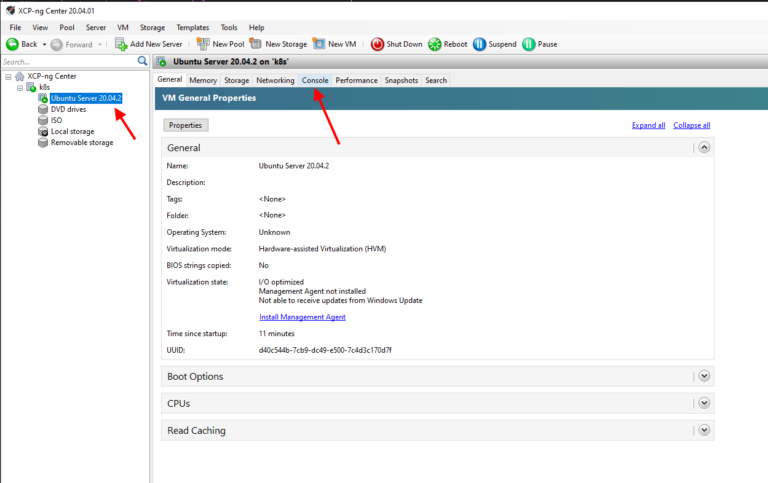
After the creation is complete, we will see our new VM listed under our server in the XCP-ng Center application. From here, go to the virtual machine’s console by selecting the Console tab.
Ubuntu Server Installation
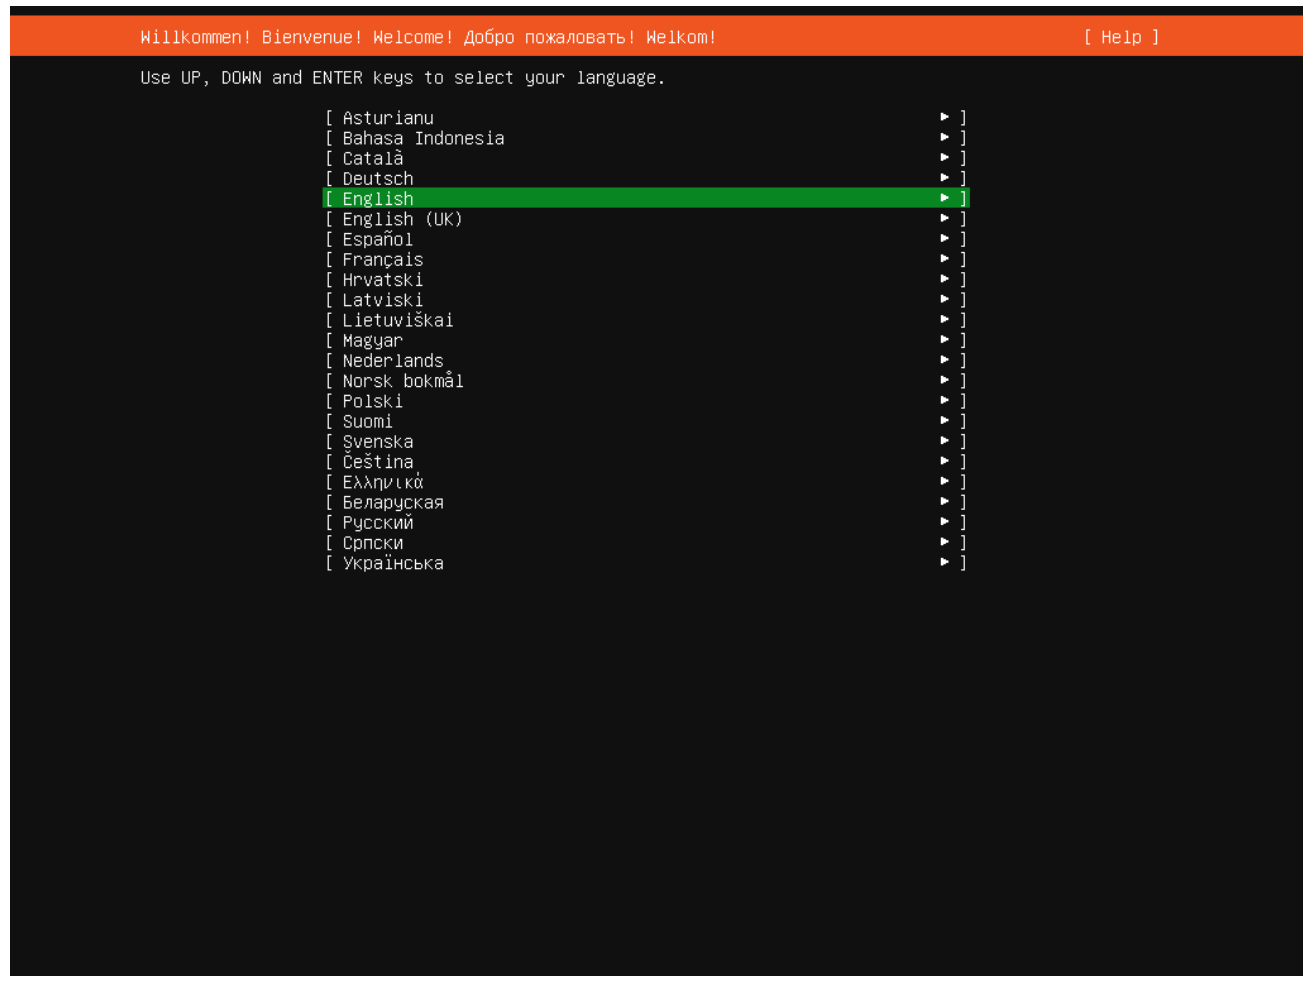
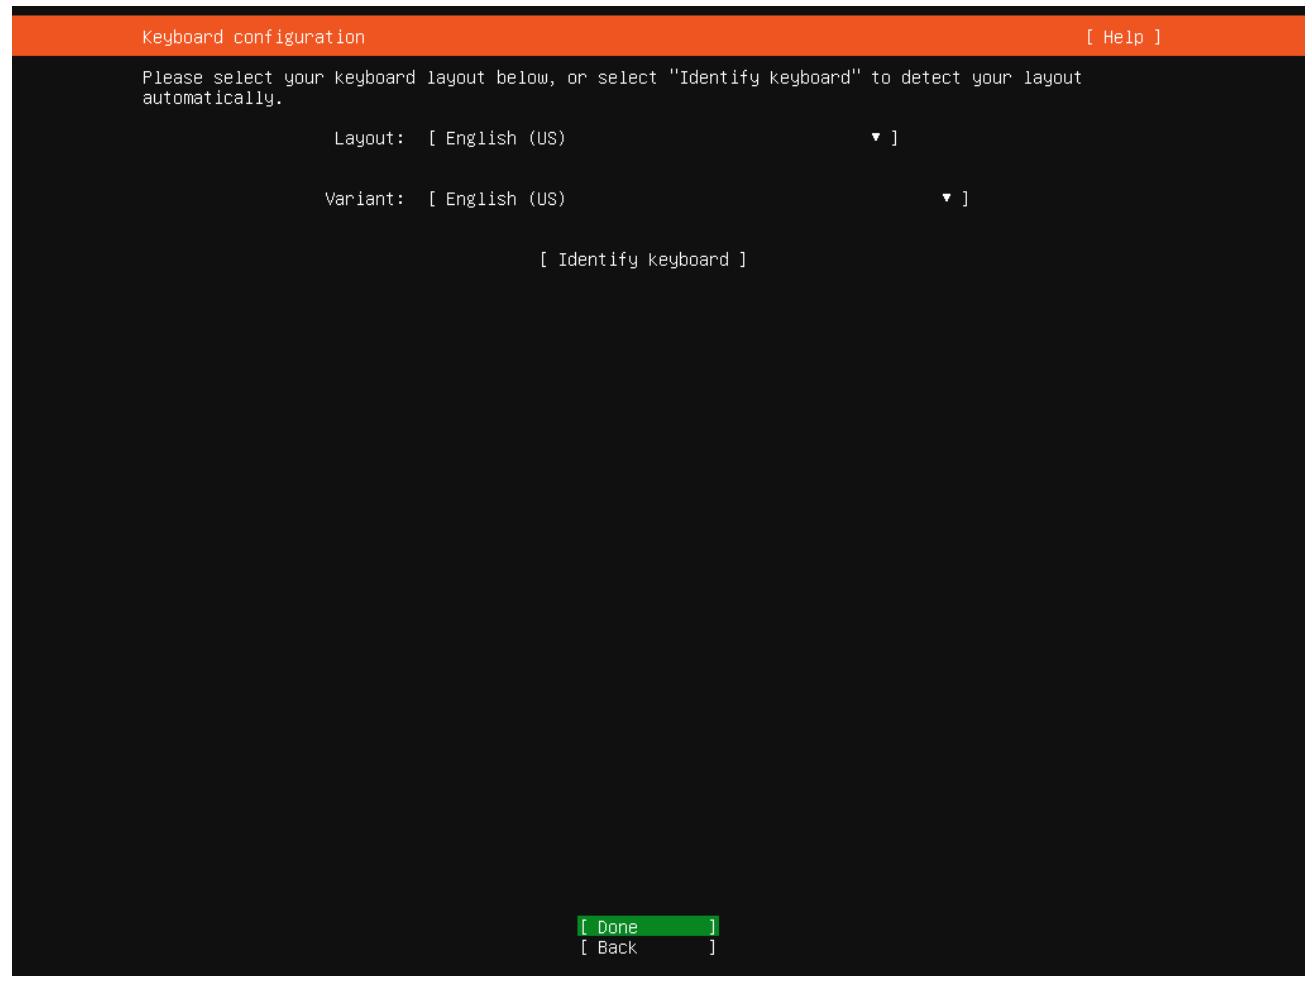
In the Console tab, you will see that our VM has booted and is ready for the OS installation now. Depending on where you are at, select your keyboard layout.
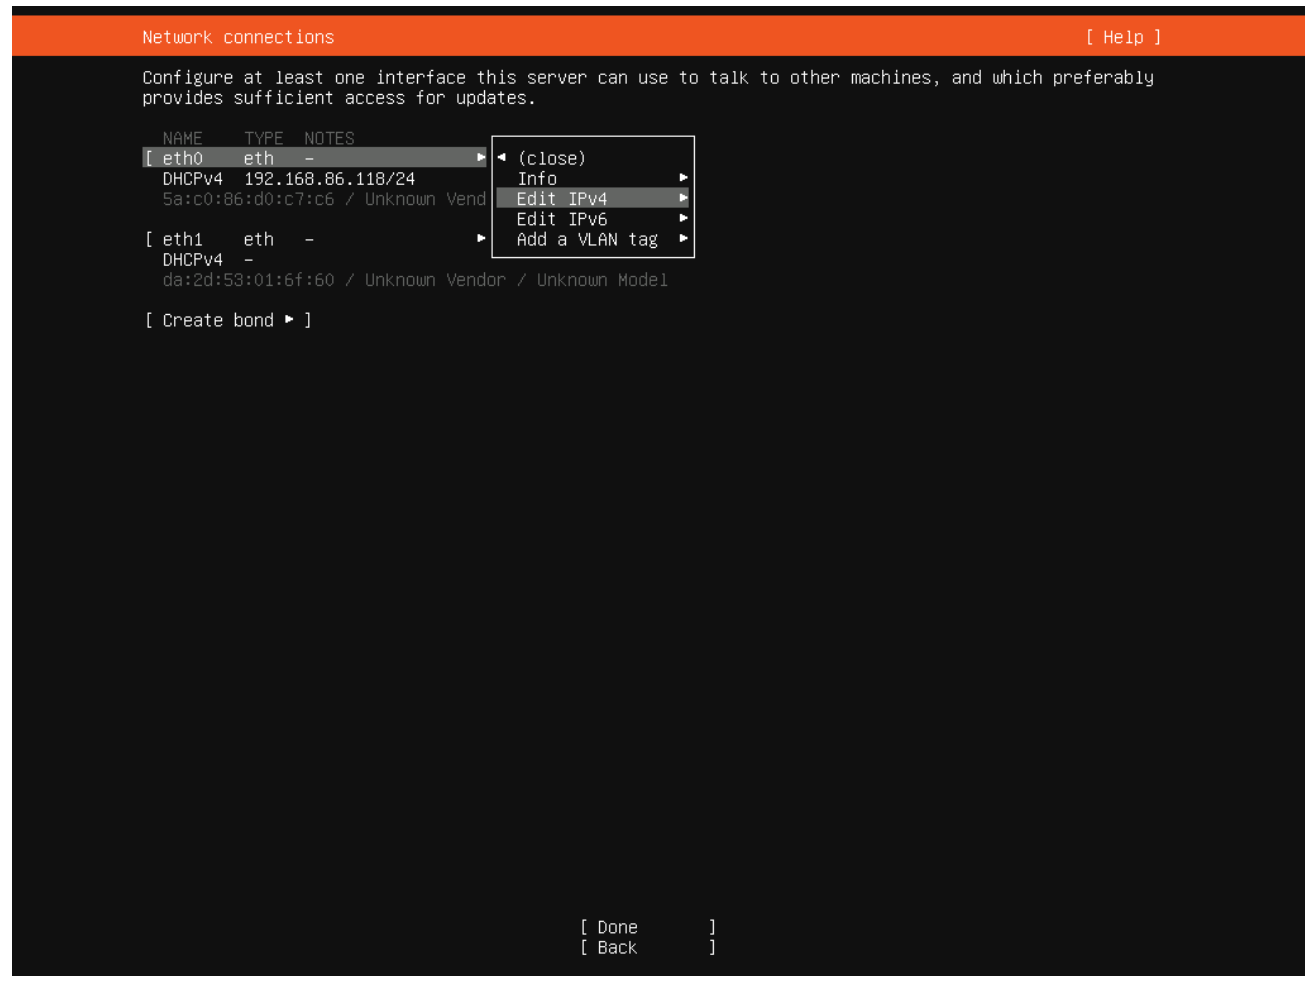
I am going to give my Xen Orchestra server a manual IP address. Select your active network card and then select “Edit IPv4”.
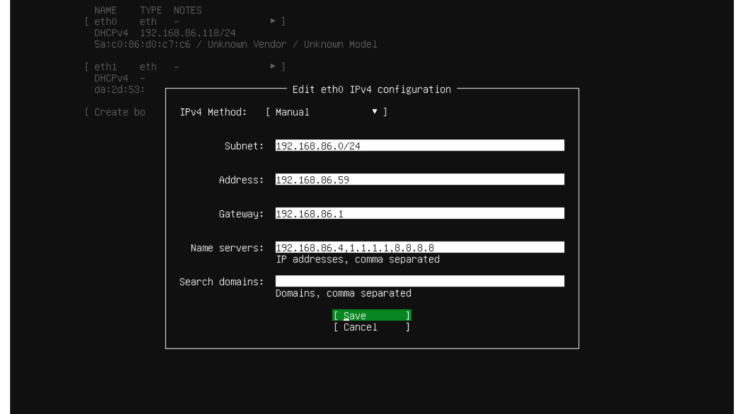
I have set this Xen Orchestra server to the 192.168.86.59 IP address. For the Name Servers (DNS servers), I have chosen my local DNS server as the initial lookup sever. I have then subsequently added Cloudflare and Google DNS servers.
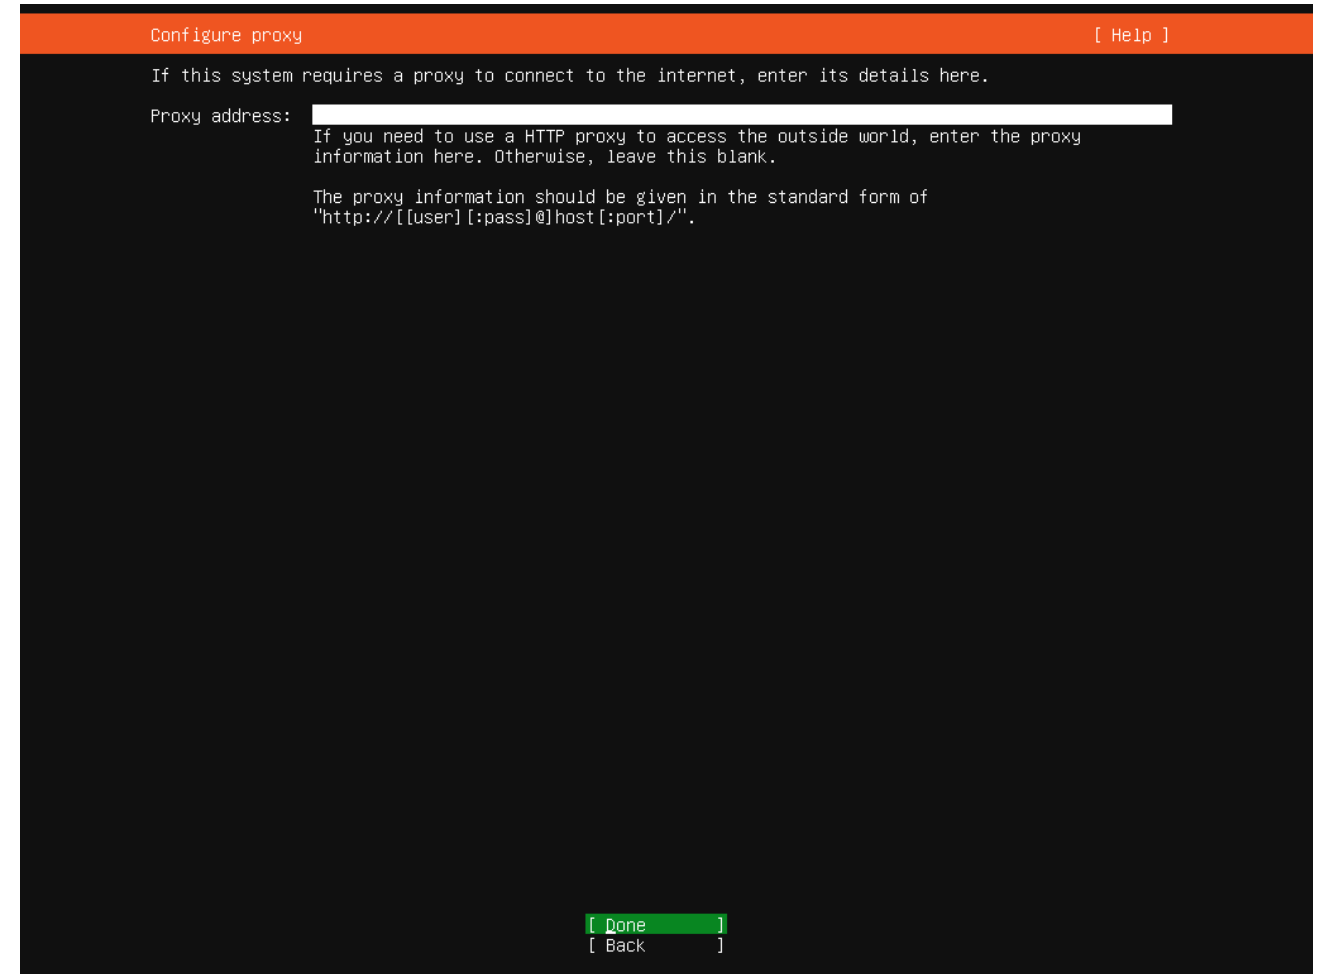
I don’t need to proxy out for anything, so I leave this empty and select “Done”.
No need for any changes here.
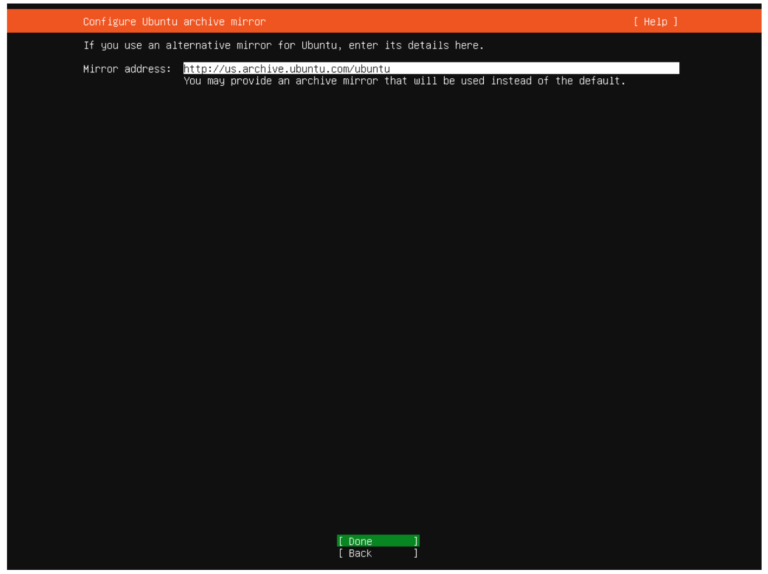
Again, the default here is good, move on to “Done”.
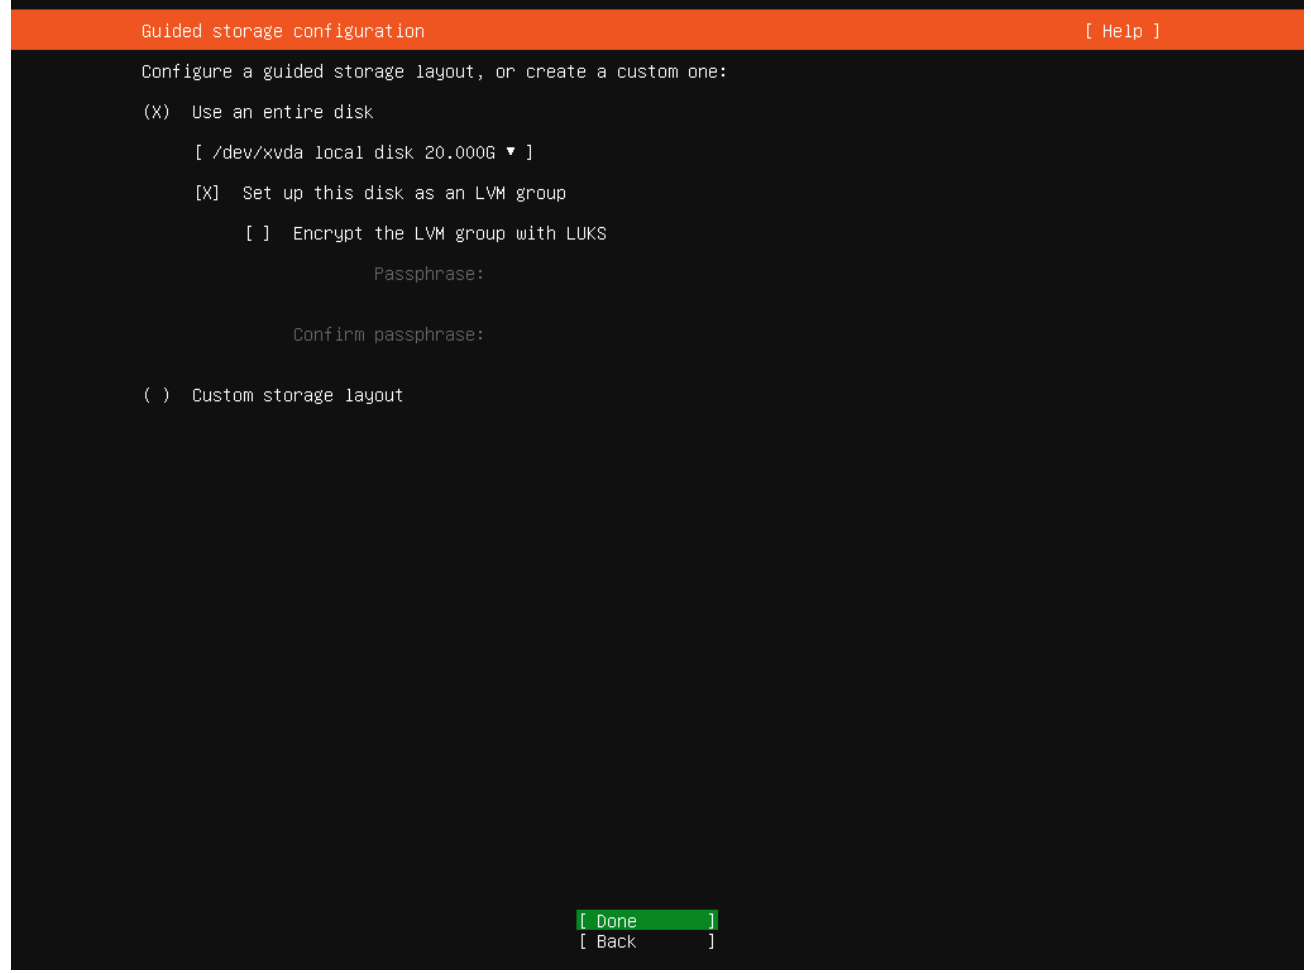
Same old story here, looks good for me, so I move on with the selection of “Done” again.
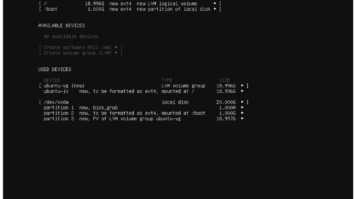
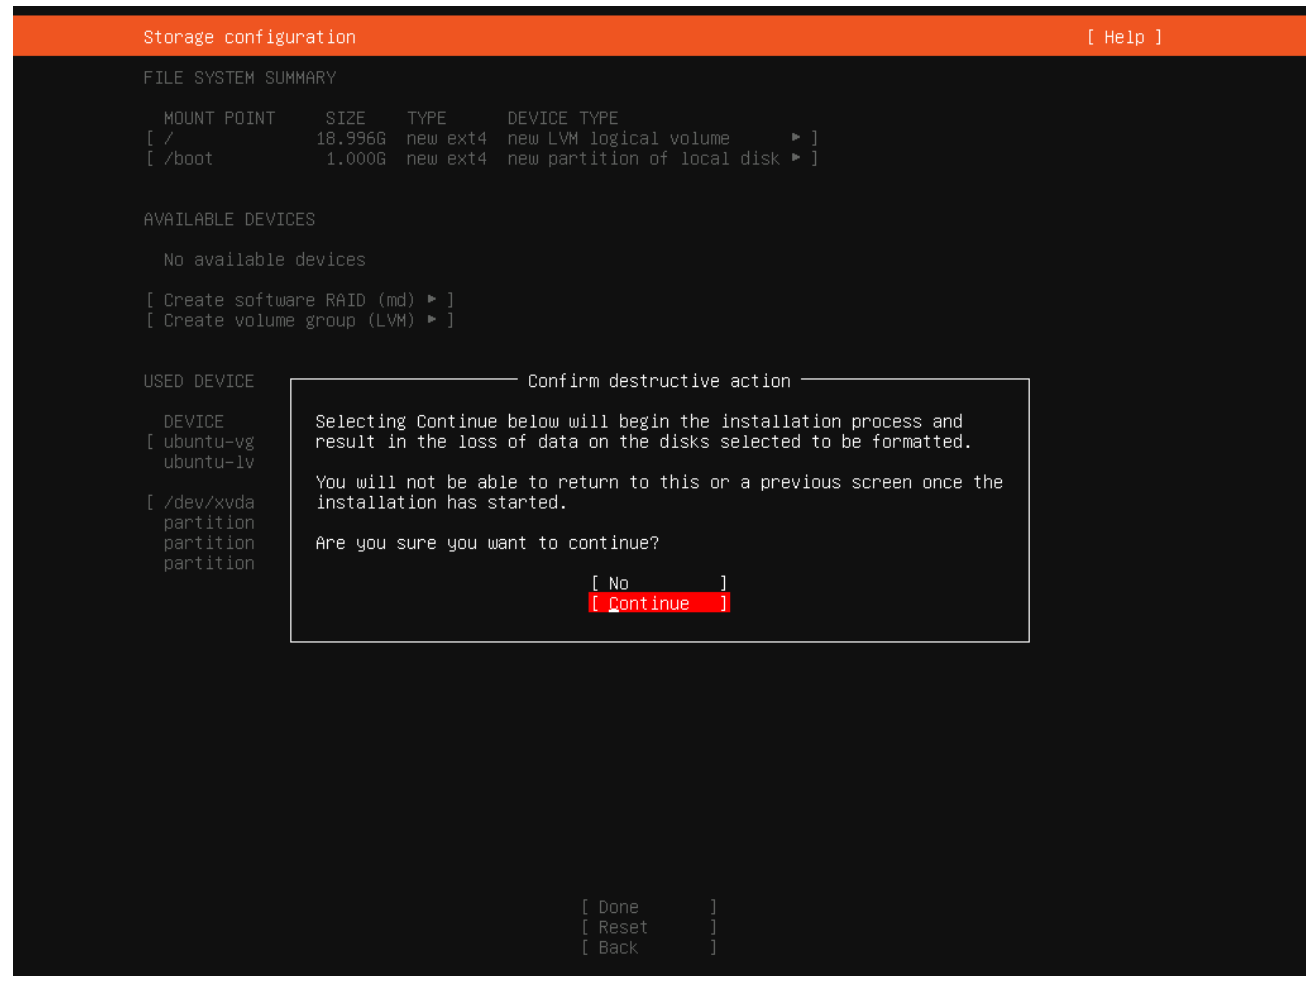
The install will ask you if you are OK with this reformatting your disk. Unless you have any changes to make, select the “Continue” option.
In the Profile setup, you can add your name, the server name and your username/password combo for login. I have chosen to call the machine here “xen”.
Select the “Install OpenSSH server”. We will ssh into this machine later on.
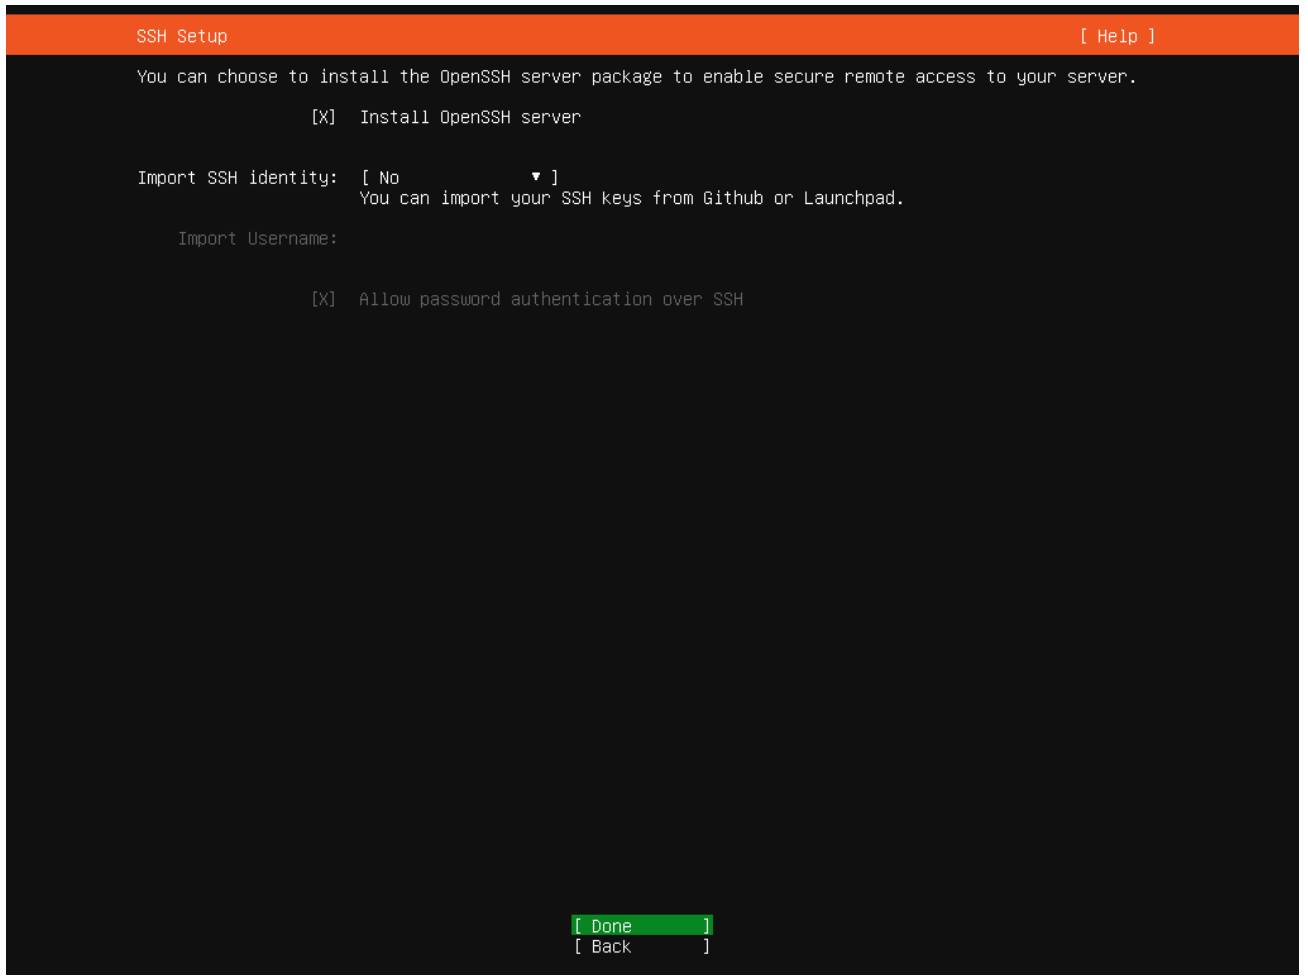
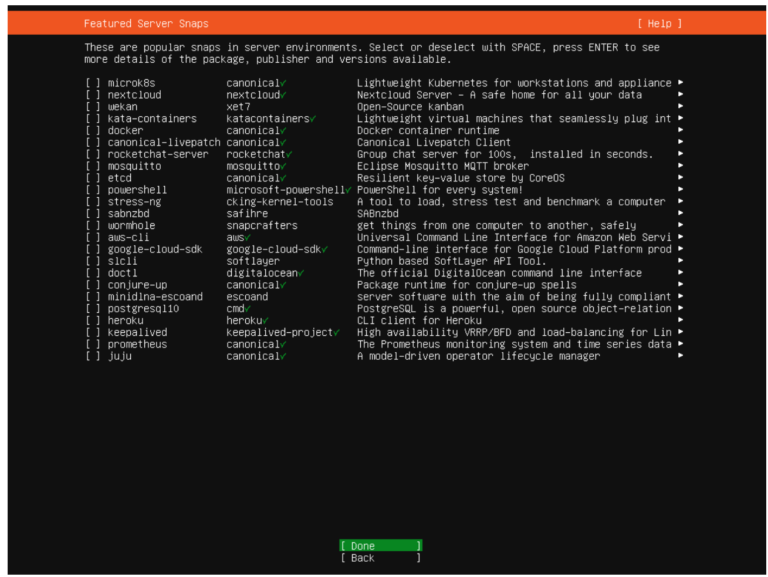
Skip the Snaps at this time.
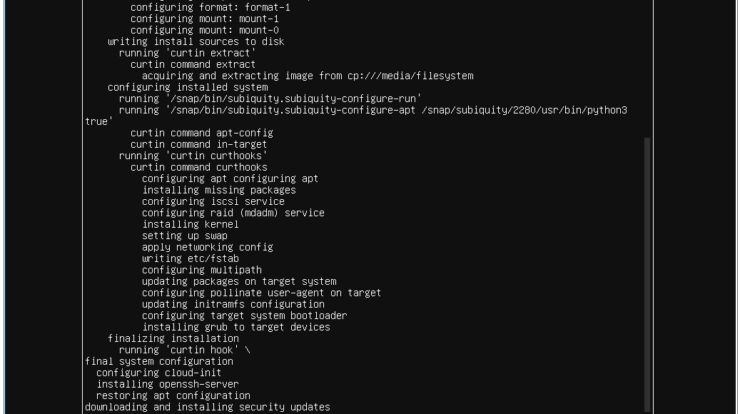
Installation Time!
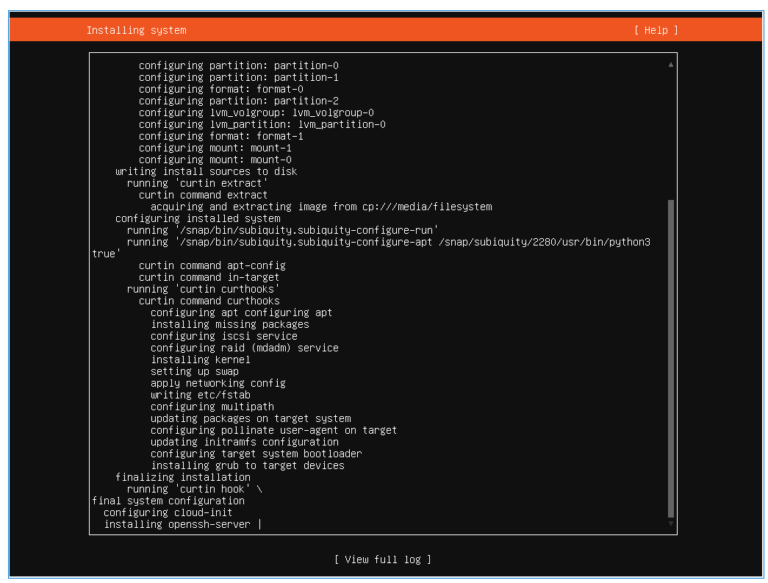
Once installation is complete, select the “Reboot Now” option and wait for the new VM to reboot into Ubuntu Server.
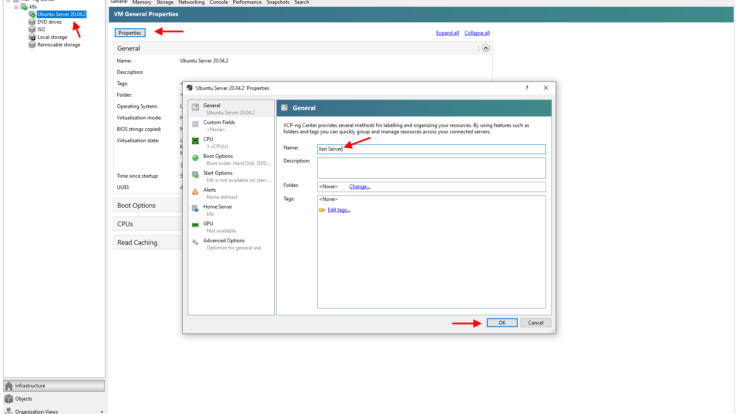
Rename our Virtual Machine
Here is where I renamed the virtual machine from the Ubuntu Server version to a name more suited to what our VM will be doing. I decided to name this virtual machine “Xen Server”.
Install Xen Orchestra Already!!!!!
Now it’s time to SSH into our Xen Server Virtual Machine. If you look at the Console tab again in XCP-ng Center, you will be able to see when the Xen Server M has completed its reboot. Once the reboot is complete, SSH into the virtual machine. In my instance, I set the IP address of this VM to be 192.168.86.59.
At this point we just have a few steps here and the server will be set up for us. I will be using an excellent script that has been prepared to install Xen Orchestra. The script is named XenOrchestraInstallerUpdater and can be found here on GitHub. Please read over the “In A Nutshell” area on the GitHub page. This is not a fully supported install so you won’t get auto updates. However, this is a great way to take all of the features for a test drive and great for home lab use.
To start, we need to make sure we have git installed.
1
sudo apt install git
More that likely, git will already be installed for us, but just to be sure.
Next, we need to get the script downloaded onto our server in order for us to run it. Issue the following git command:
1
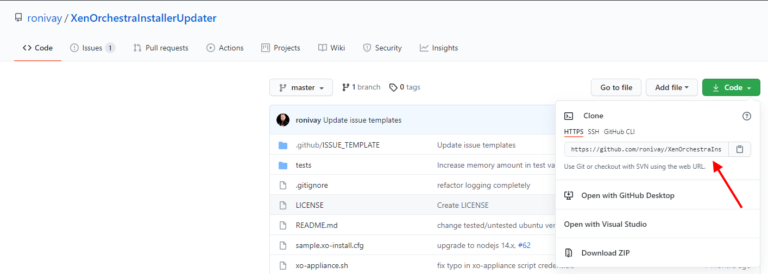
git clone https://github.com/ronivay/XenOrchestraInstallerUpdater.git
The URL can be found on the GitHub page under the “Code” button.
We can now move into our XenOrchestraInstallerUpdater directory.
1
cd XenOrchestraInstallerUpdater
Let’s now issue the command to run the install script.
1
sudo ./xo-install.sh
I have always chosen to let the installer run the Autoinstall. Enter “1” and let it run!
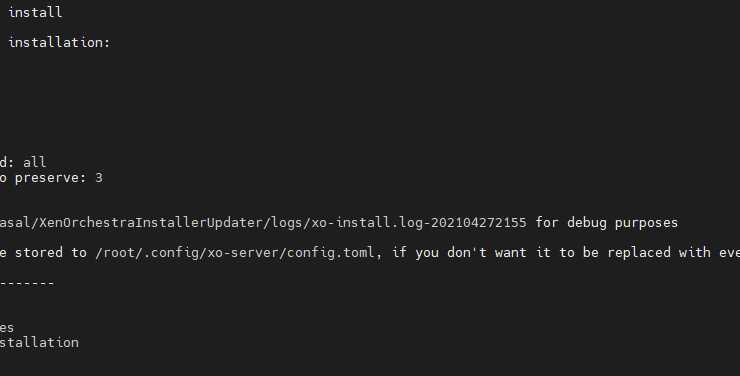
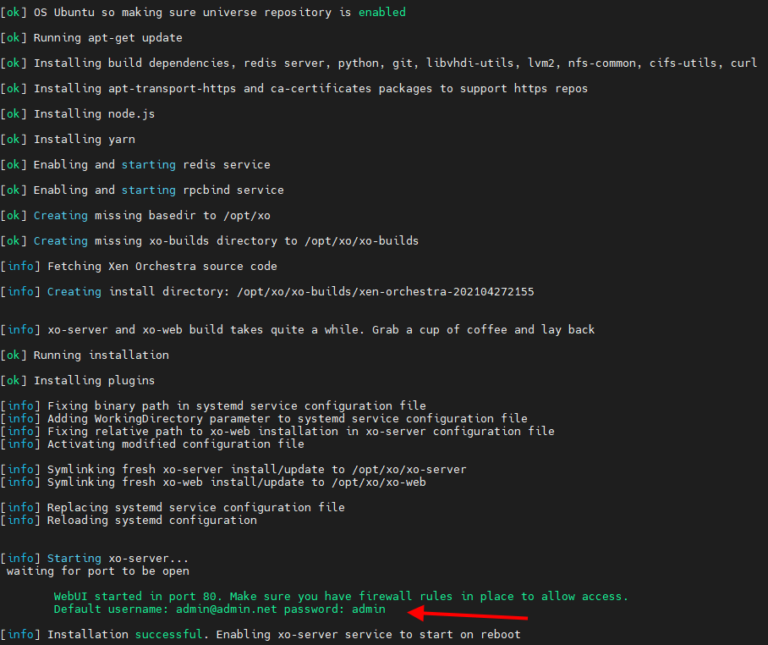
Your install should look something like this. Please note the login information at the end of the script run. These are the credentials that we will use to log in to the Xen Orchestra web application.
Open the Xen Orchestra Homepage
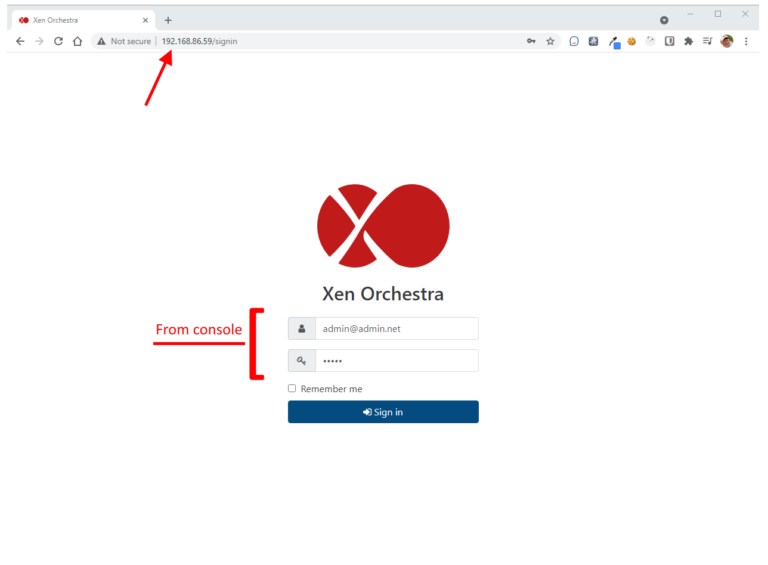
Open up a browser now and enter the IP address of the Xen Server VM into the address bar and you should be taken to the Xen Orchestra Homepage.
IMPORTANT: At some point after we login, it is a good idea to either change the default password for the Admin account or replace the Admin account with an account of your own. I have gone to Settings/Users and created my own Admin account, logged out, then logged back in with my new Admin account and deleted the default Admin account.
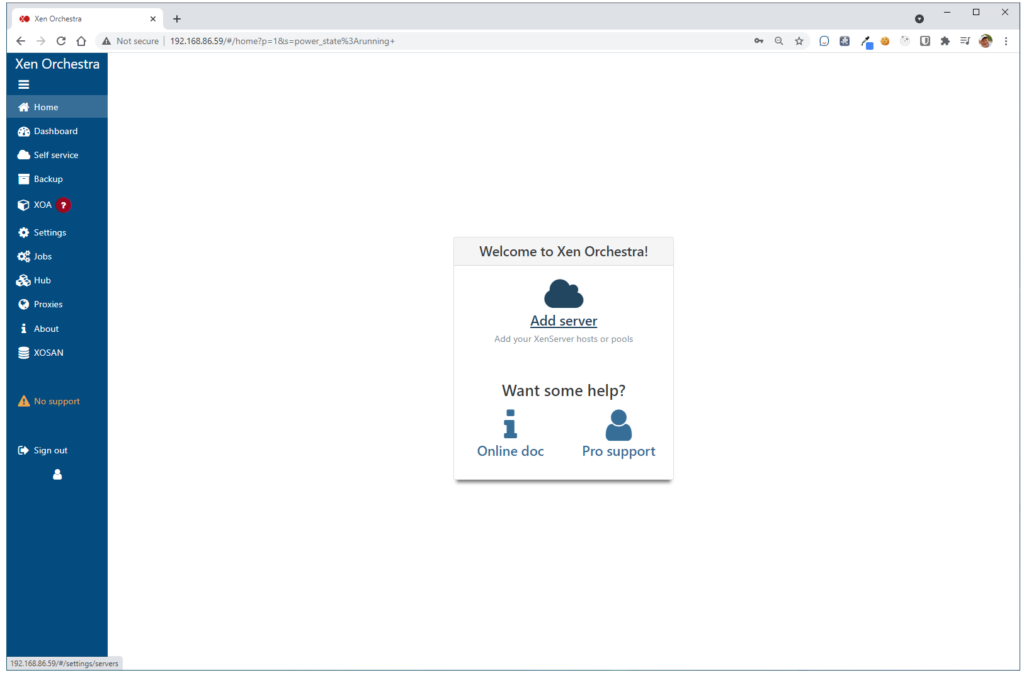
Once we login, we can start to use Xen Orchestra to manage and create our Virtual Machines instead of XCP-ng Center.
Click the “Add server” here in order for Xen Orchestra to look to our XCP-ng server where our Virtual Machines will run.
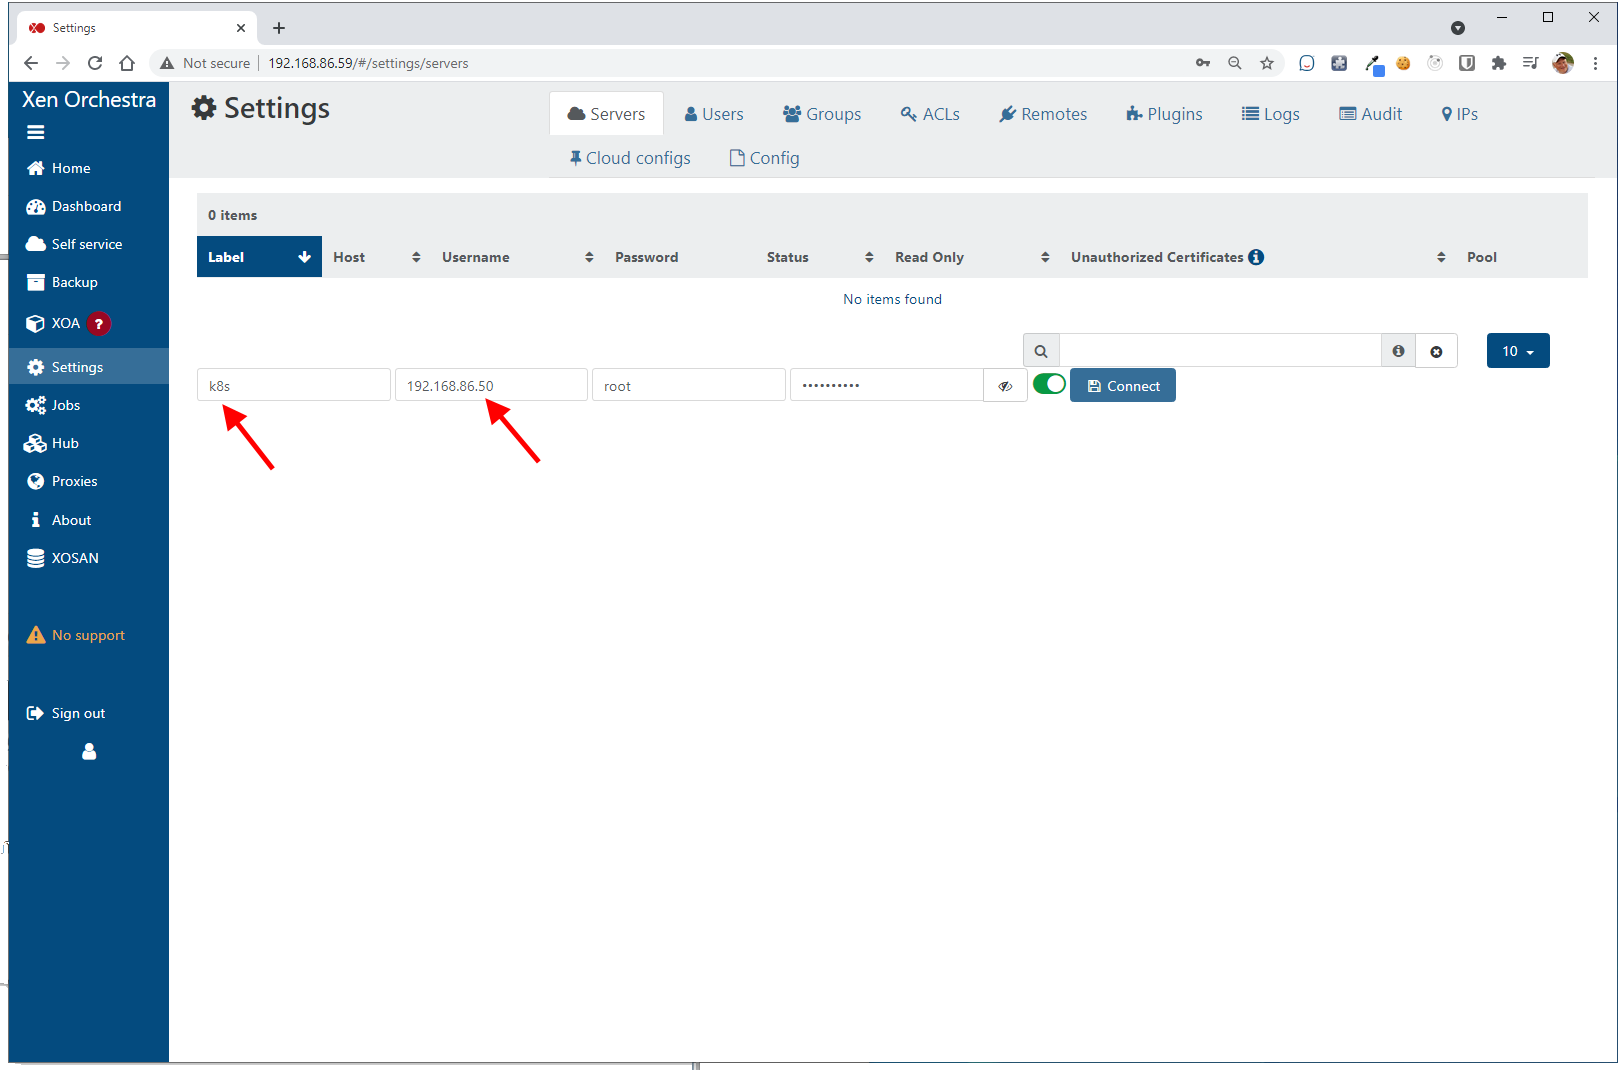
Set Server and the Pool
Enter in the name of the server, “k8s” in my case, and the IP address. Remember, this is the XCP-ng server and not the Xen Server Virtual Machine that we just created. This is the bare metal machine that this all runs on. Also make sure to enable “Unauthorized Certificates”. Enabling that will keep us from having to have our browser accept a site with bad certificates. After you enter in all of the pertinent information, click the “Connect” button. This action will also create a “Pool” for us that is also named “k8s”. The Pool is a grouping of hosts, like our Xen Server.
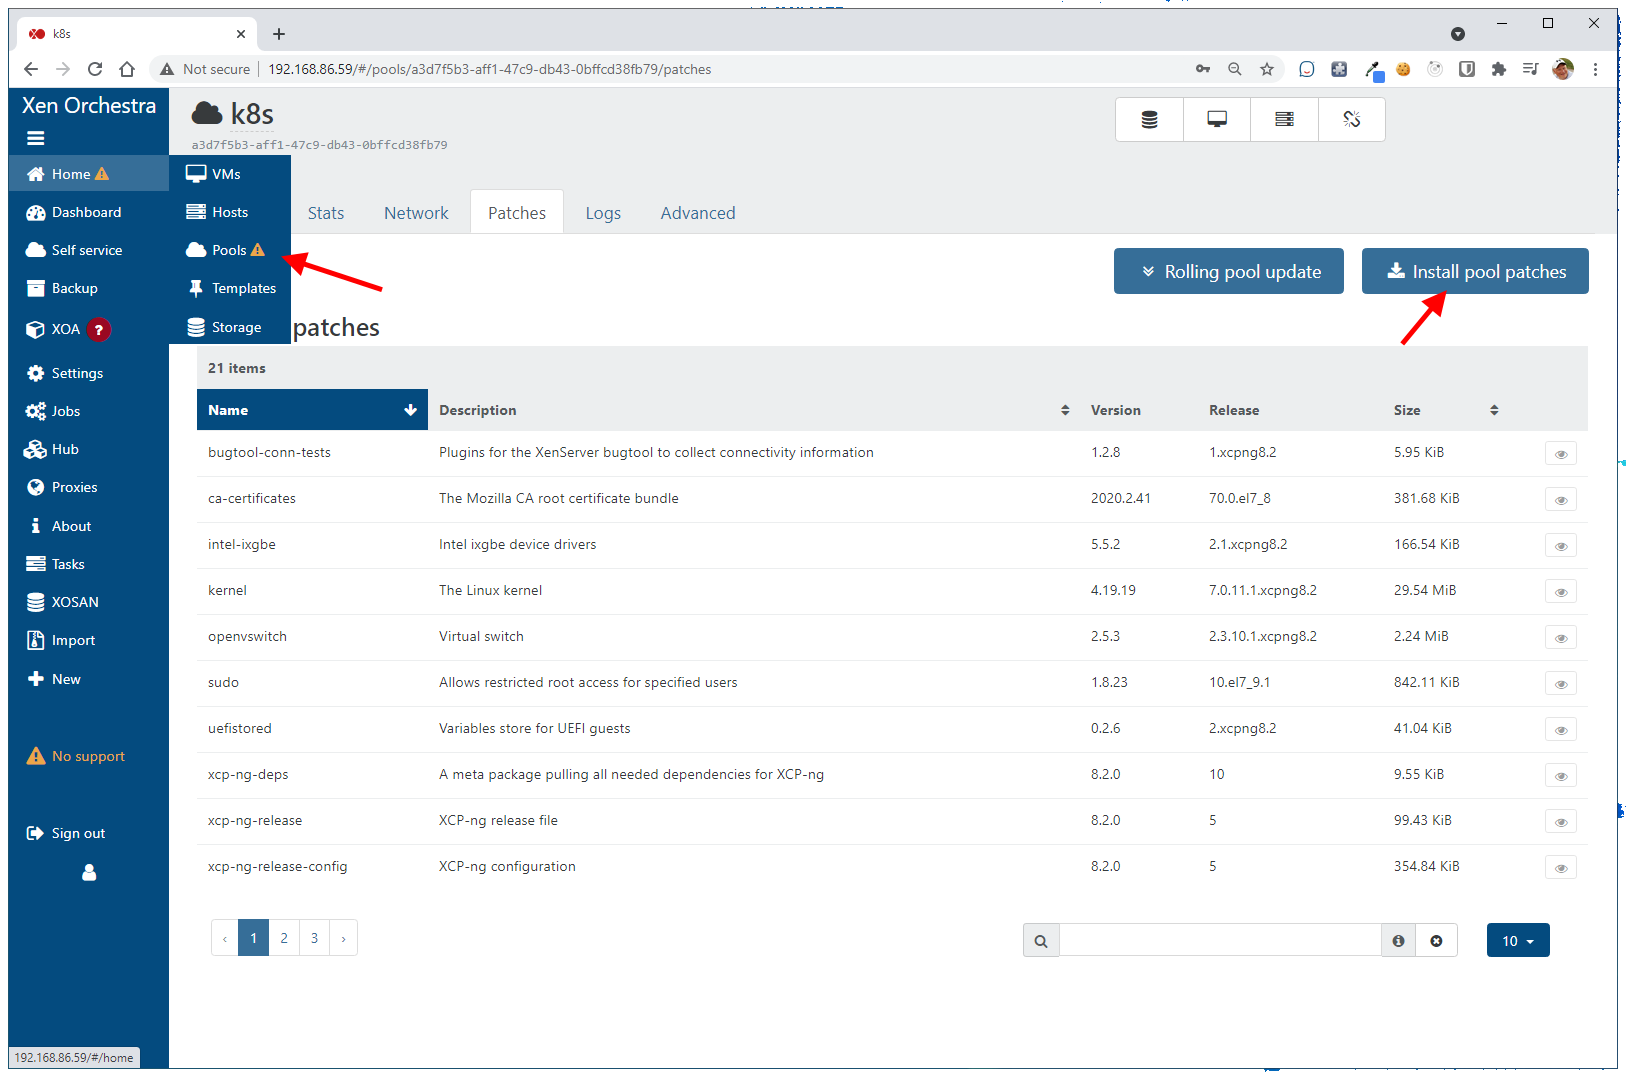
After we have connected to the server, it is a good idea to update the Pool Patches. Navigate to the Pools and click the “Install pool patches button”. This process can take a little bit of time, so be patient.
After connecting to our server and updating the pools, go back to the Home button and after you click it, you will see the Xen Server VM that we created earlier using XCP-ng Center. This is the VM that our Xen Orchestra website is running from!
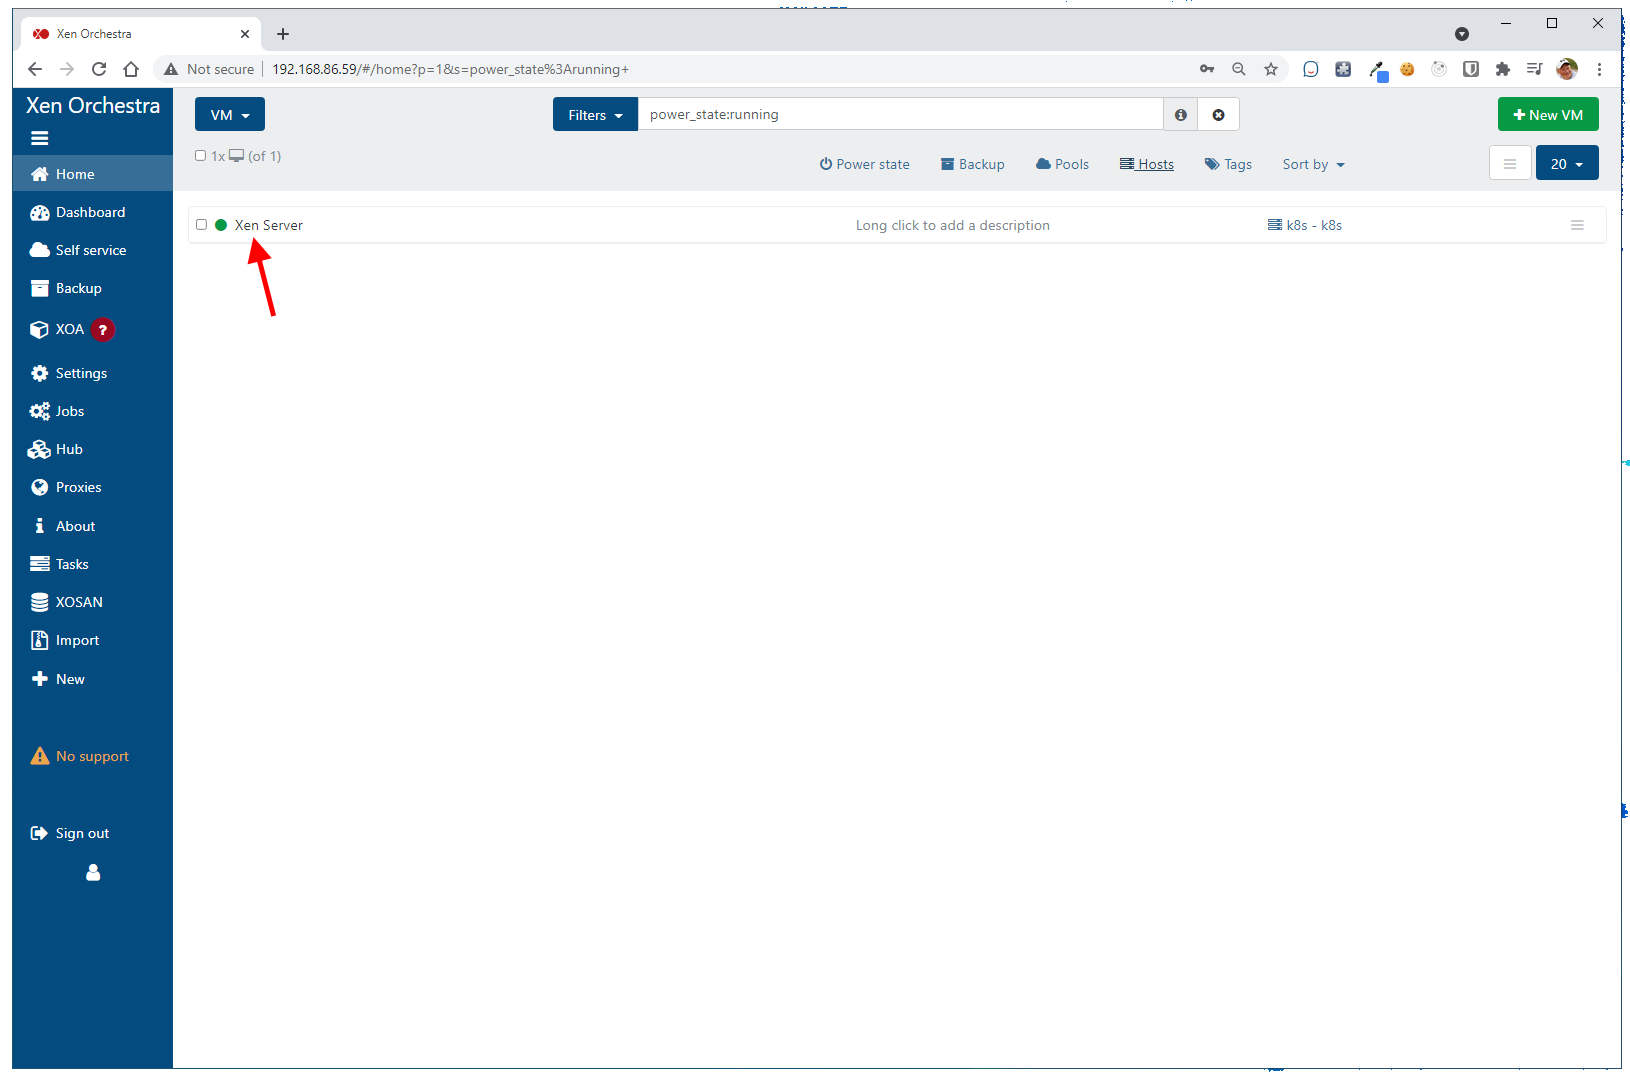
Because we will rely on using Xen Orchestra moving forward, click on the Xen Server shown in the above image. We will now be brought into the details of our Xen Server VM. Then, on the Advanced tab, make sure the “Auto power on” is selected. This will start up the Xen Server VM when the XCP-ng server boots.

In the next post, we will look at creating the Virtual Machines that we will use to create our Kubernetes Cluster.
Hope to see you then!