

In this article, we will focus on creating virtual machines in Xen Orchestra. We will use these new virtual machines as part of our Kubernetes cluster. We will create one Control Plane and two Nodes. Later, I will show how to set up SQL Server on the Cluster, along with deploying a .Net gRPC-web application that will be served via an Nginx Ingress Controller.
<< Previous Xen Orchestra – Set Up
Create New Virtual Machine
To begin, let’s go back to our Xen Orchestra server. Open up a browser and enter in the IP address to your Xen Orchestra server. Again, mine was 192.168.86.59. I also use a local DNs server, so you may see my address bar have xen.syntak.lan as the address. Don’t let that throw you.
After we log in, we are brought to the Home page. Here we can see the Xen Server virtual machine that we created earlier with the help of the XCP-ng Center application.
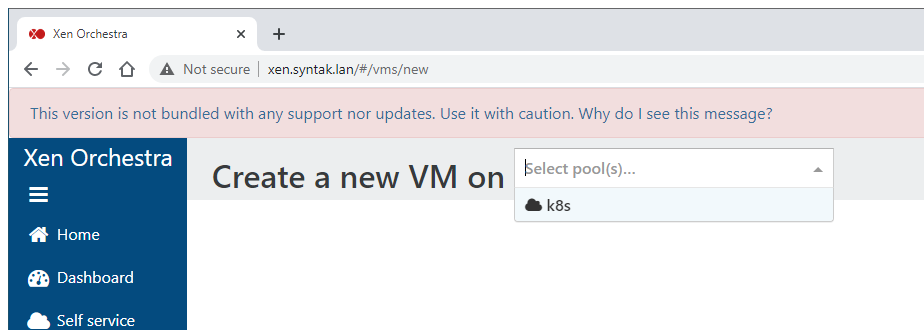
Creating our next set of virtual machines will be even easier. To start, click on the “New VM” button.

We will now need to select the Pool where our virtual machines will live. Remember from the last article, the pool was created when we initially logged in our Xen Orchestra app and added a server.
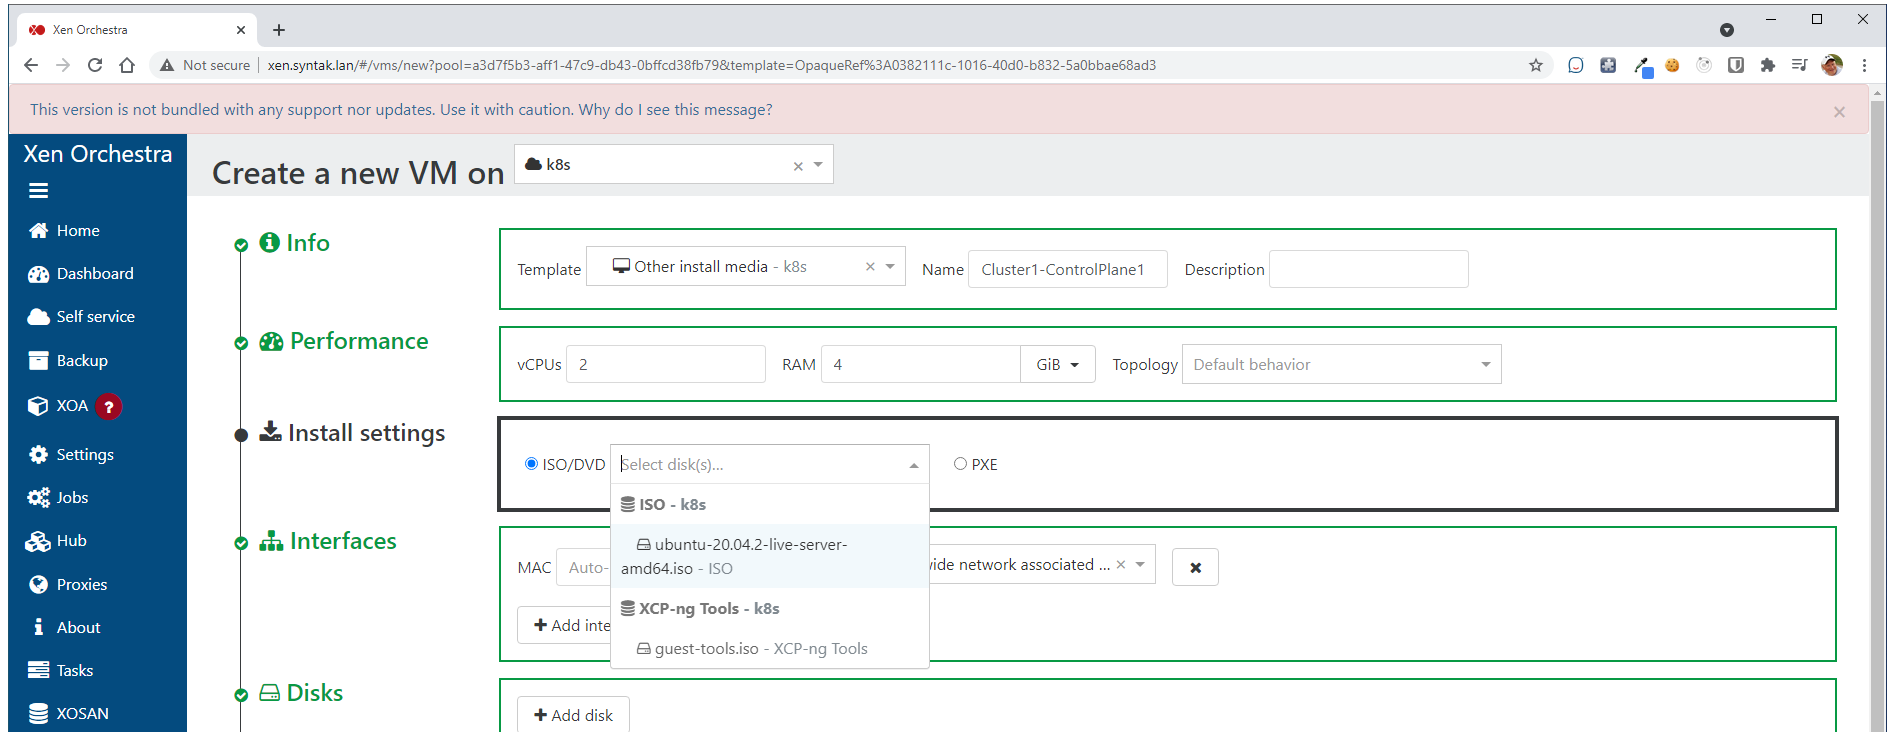
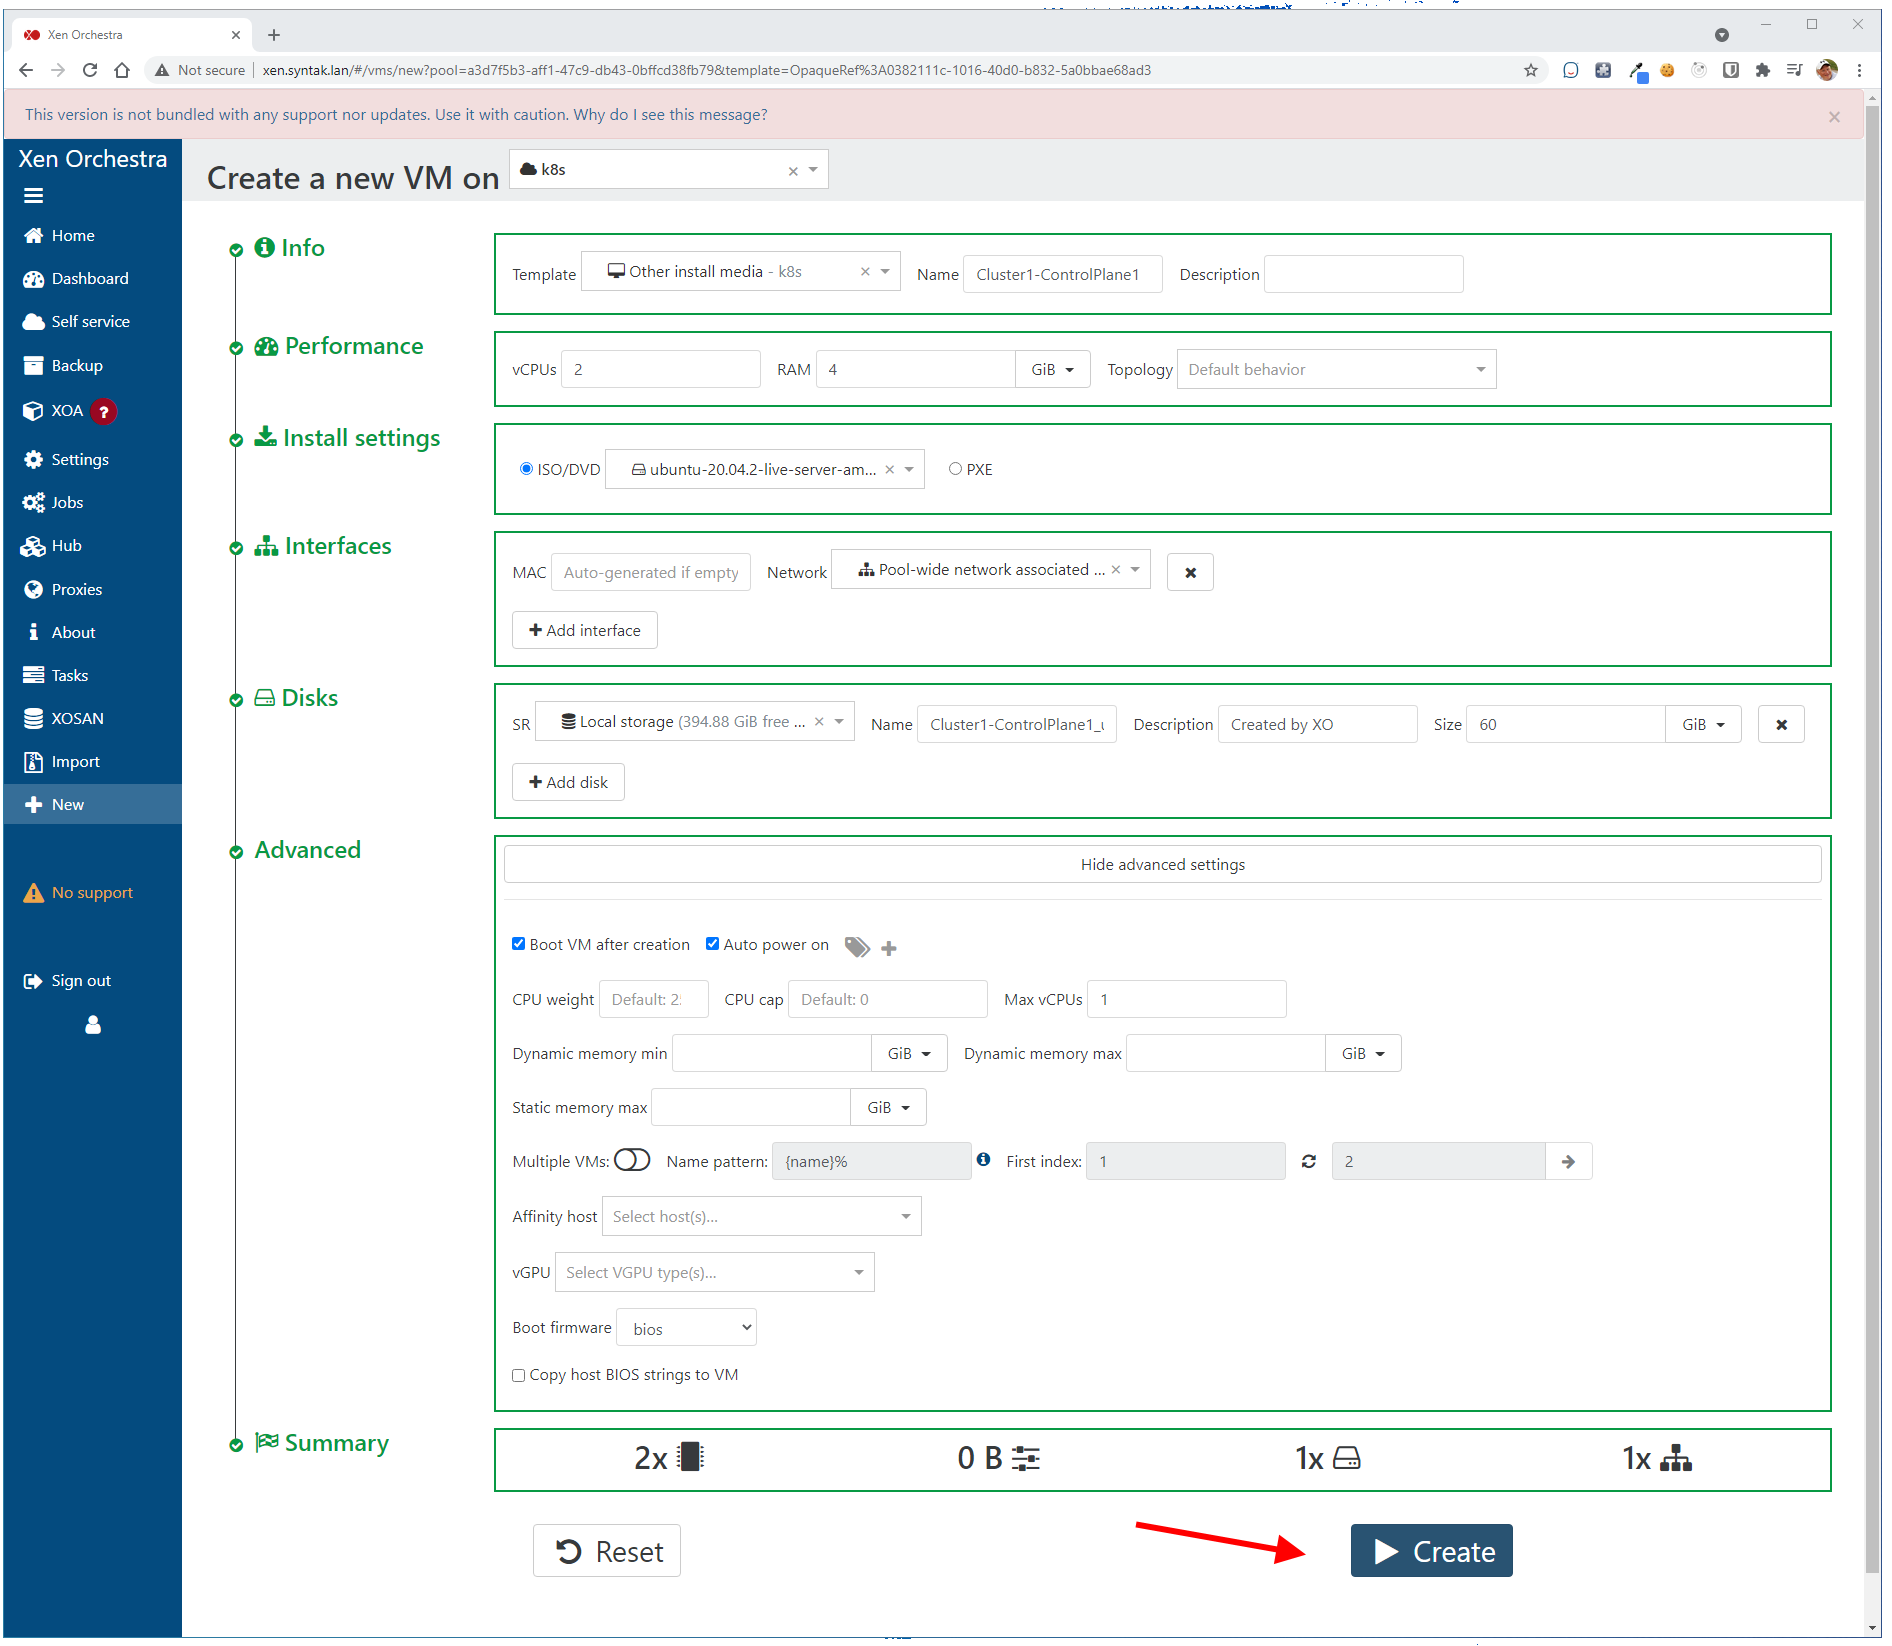
So let’s start creating our new virtual machine. We start out by selecting the “Other install media” because we are going to install Ubuntu Server, which was not one of the built-in templates that Xen Orchestra has. In creating these virtual machines, we are going to use the ISO that we used when we created Xen Orchestra server.

Info block
After selecting the template, I chose to give the name “Cluster1-ControlPlane1” to this virtual machine.
Performance block
I have also chosen 2 virtual CPUs and 4gb of RAM.
Initial Settings
The ISO that we want is listed in the dropdown for us already! It knows where our ISO directory lives on the server. Here again I have chosen the Ubuntu Server ISO to install from.
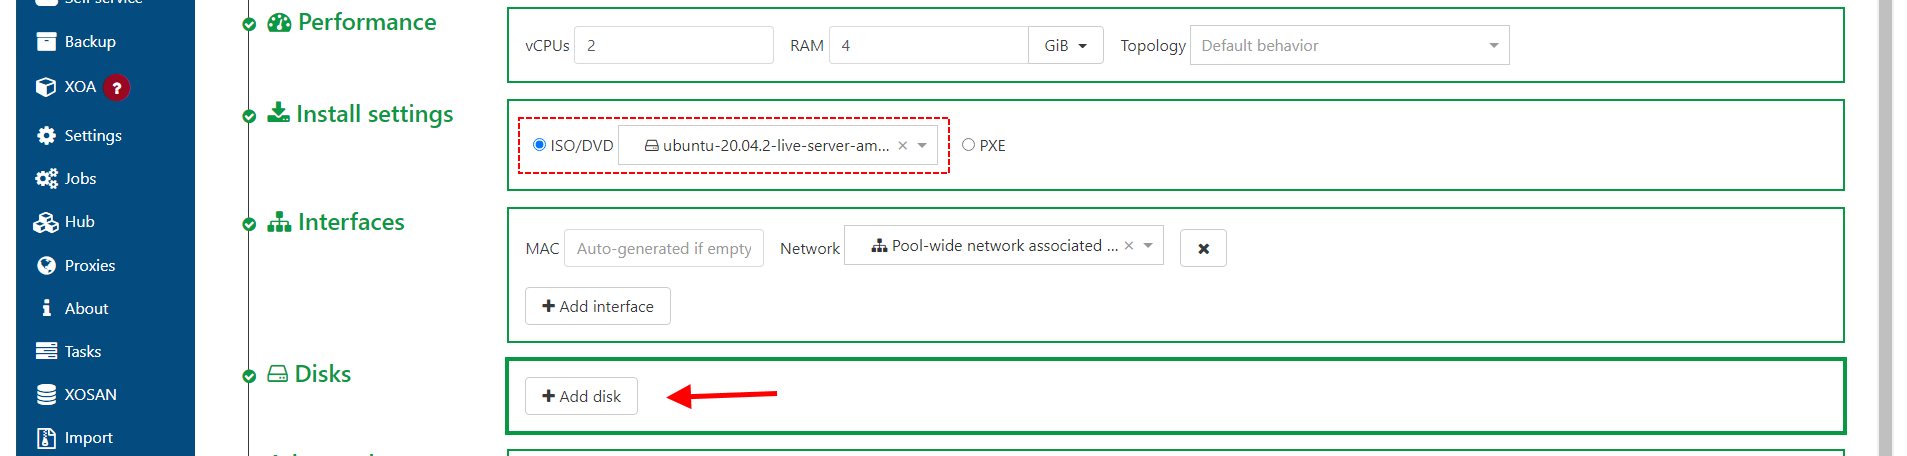
Interfaces block
I did not make any changes here. You can assign a custom MAC address to the ethernet controller if that is something that you wish to do.
Disks block
In the Disks block, click the “Add disk” button.
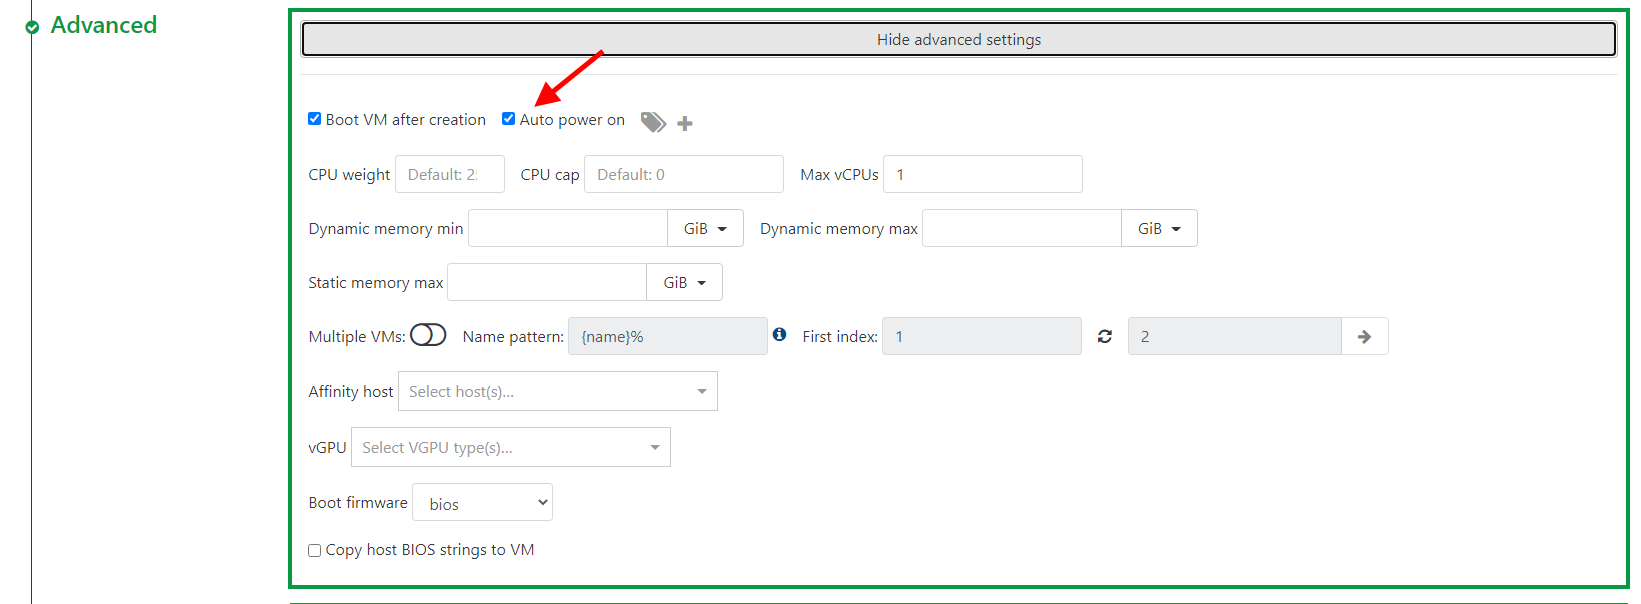
Because I have the space, I chose to provide this virtual machine with a 60gb disk. After providing the size of the disk, click on the “Show advanced settings” button (rather long button) in the ……..

Advanced block
Here in the Advanced block, I just checked the “Auto power on” selection so that the server will boot every time the host starts up.
Create the Virtual Machine
That’s it! All that is left to do is click the “Create” button and the resources will start to be allocated for you on the server.
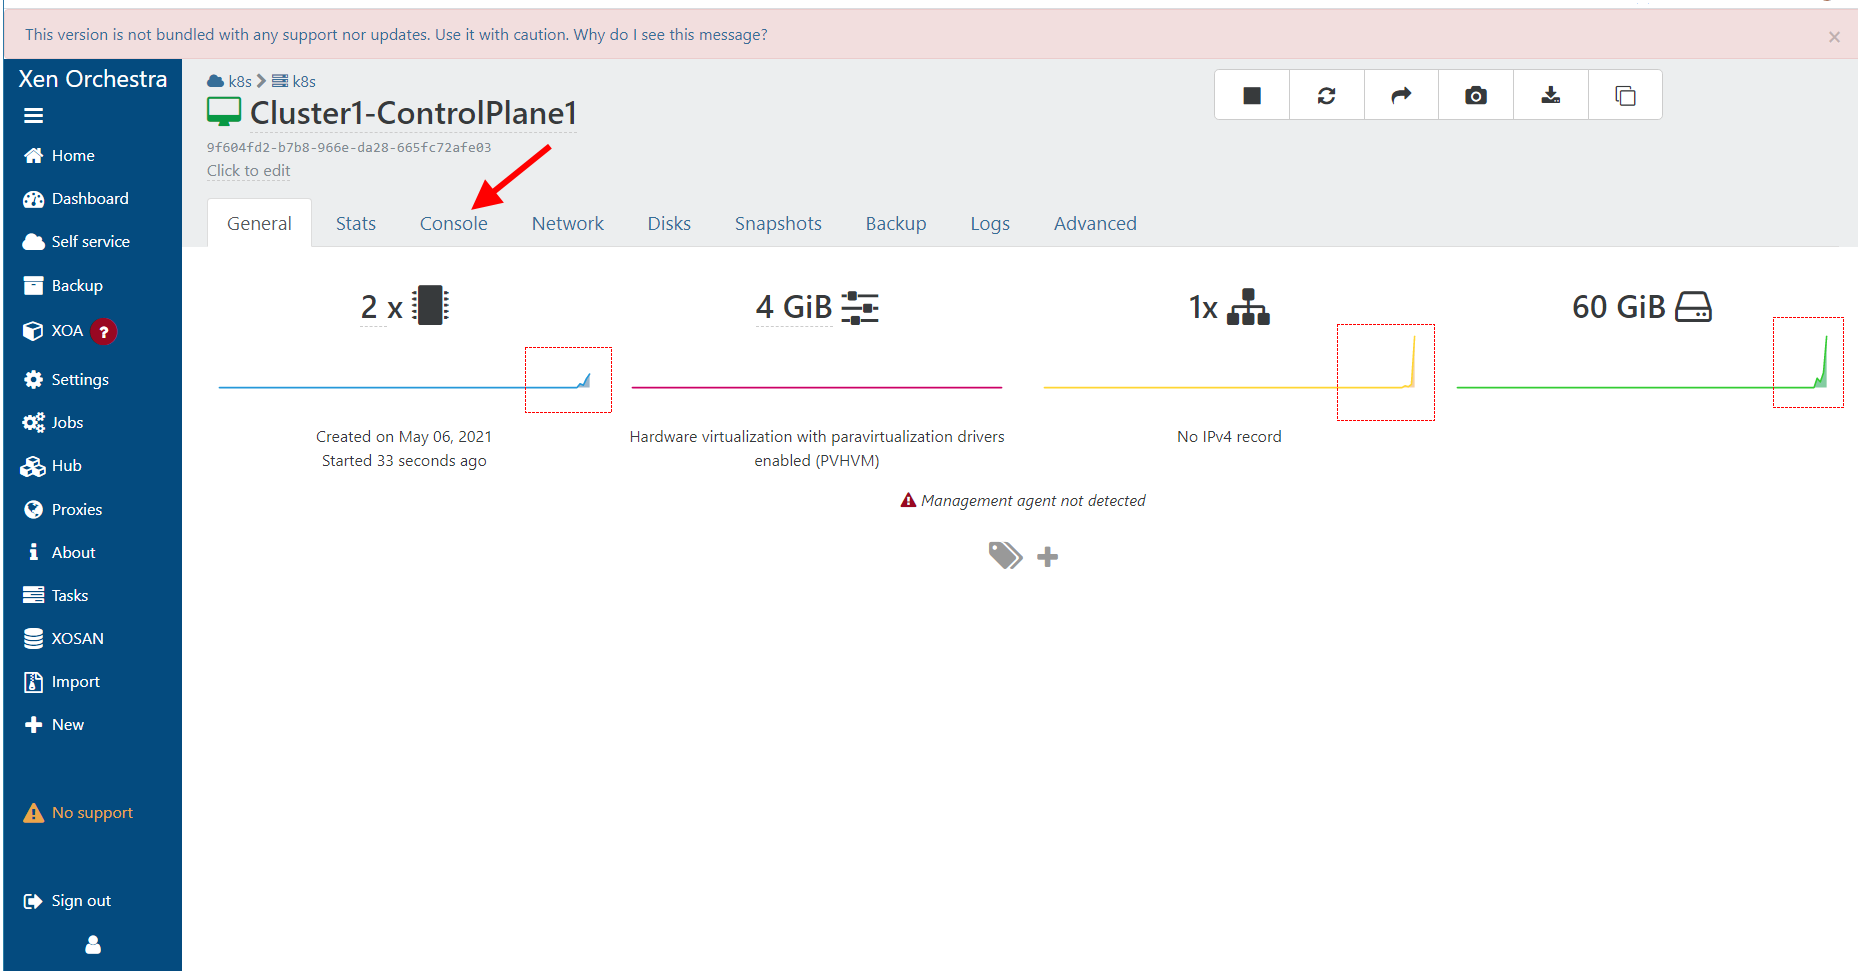
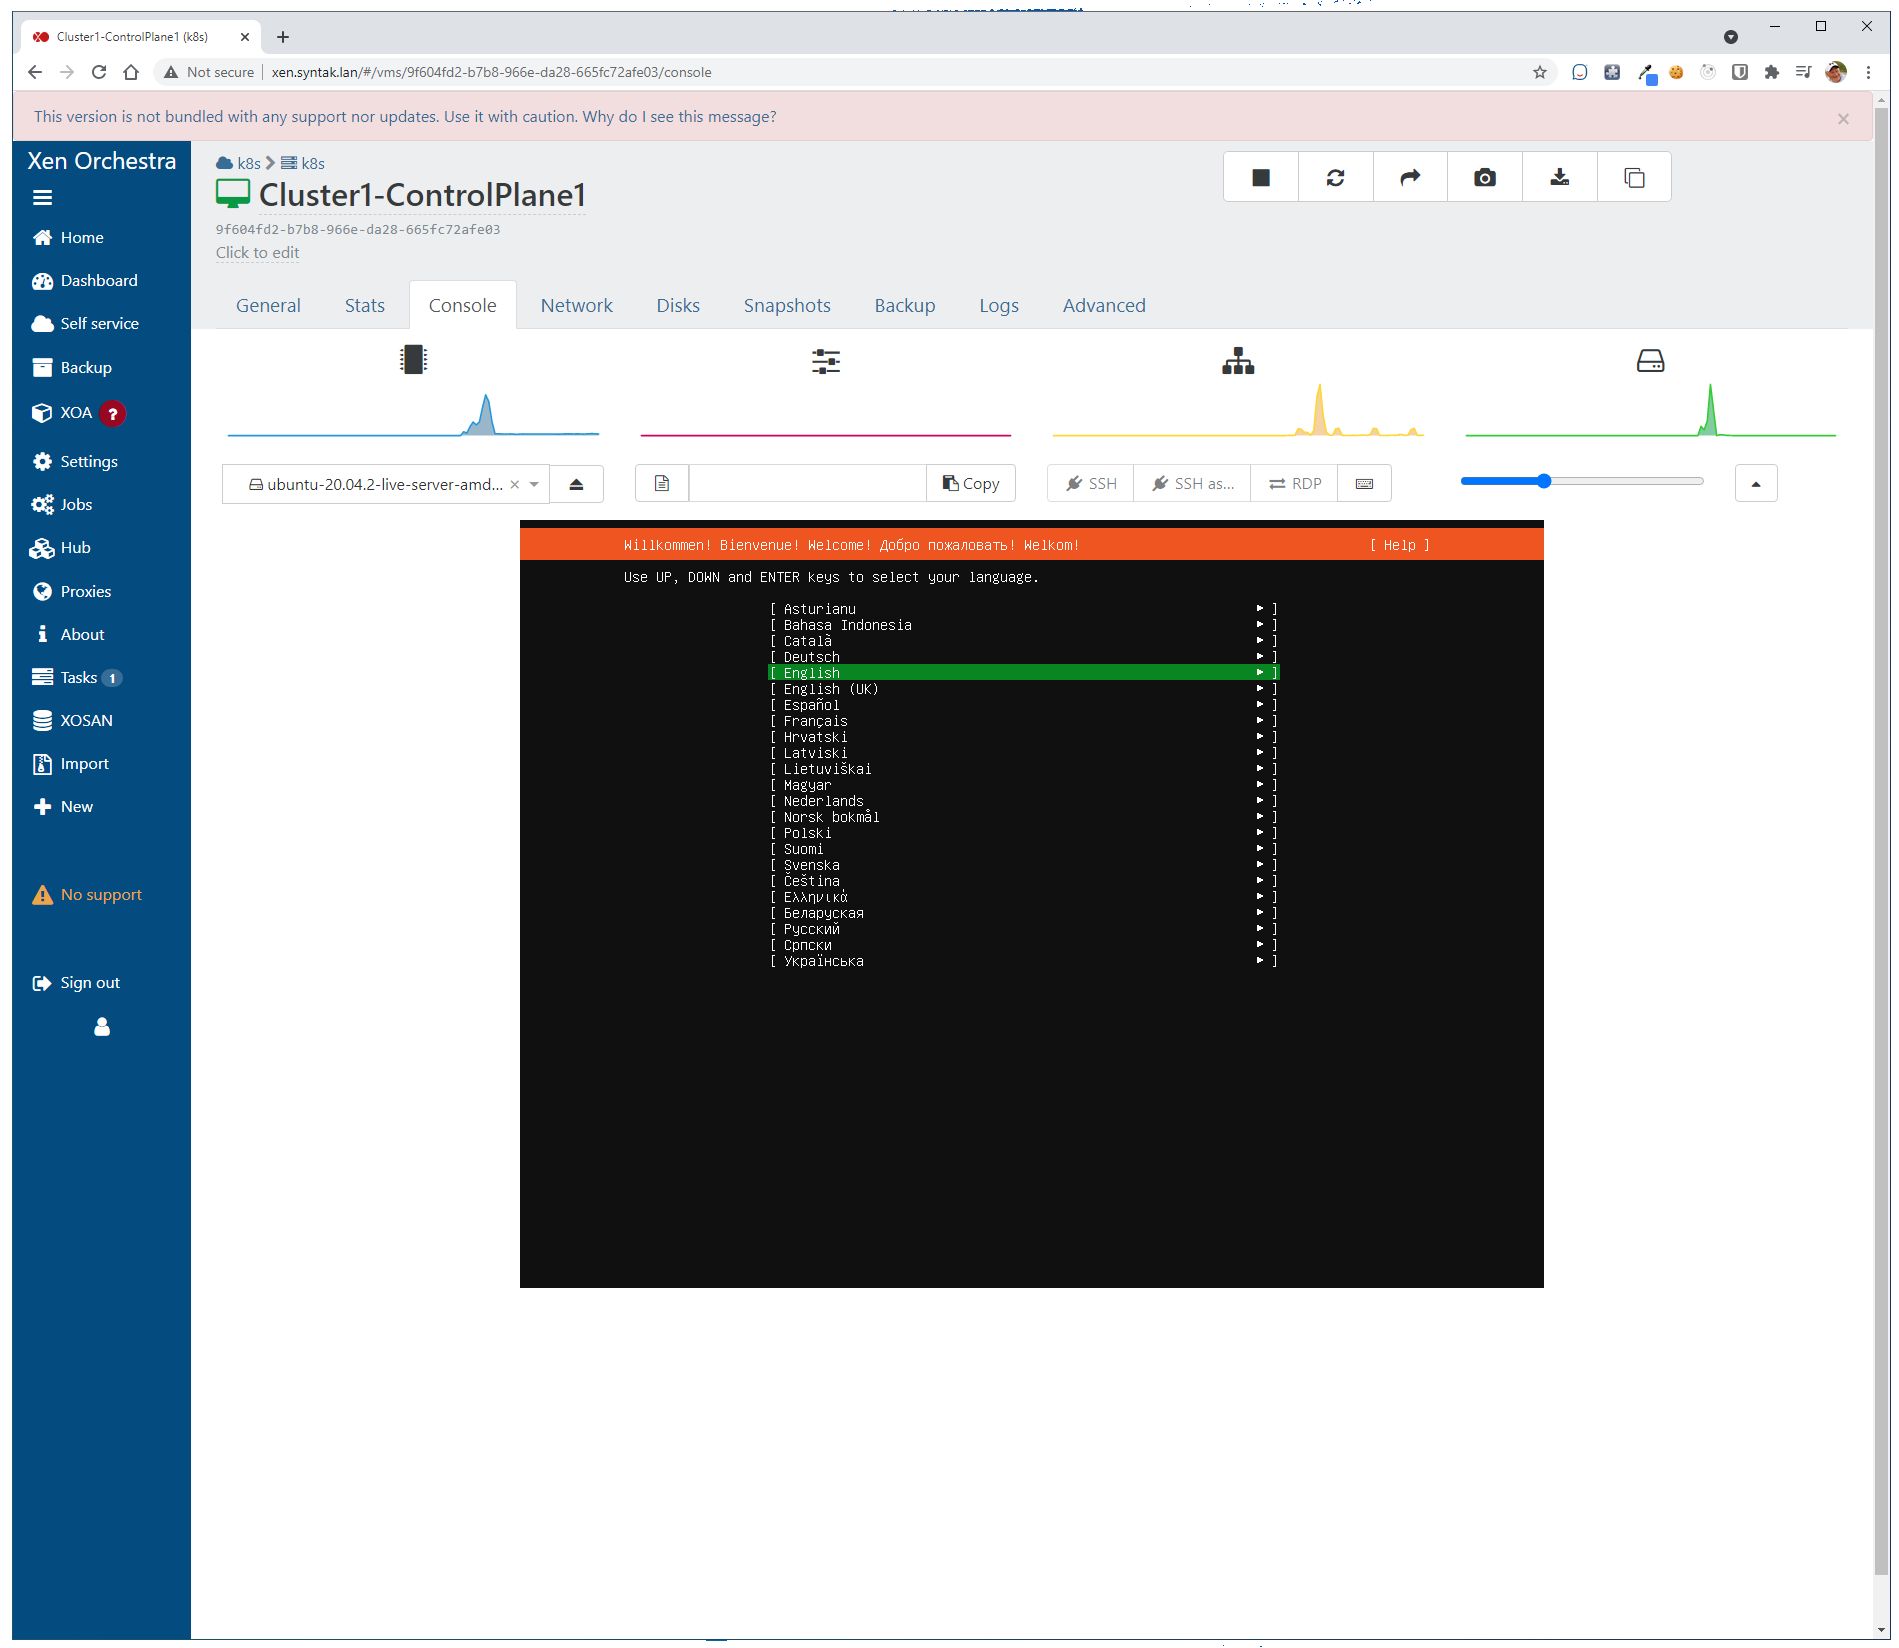
While the Virtual Machine is being allocated, you can keep an eye on the VM’s page and watch the resources get allocated and start to come to life. After the CPUs, memory, network, and disks have completed being spun up, go to the “Console” tab and you can see the server starting up and the installation media mounting.
Install Ubuntu Server
We’ve seen this before! Just like we did earlier in XCP-ng Center, we can run through and install Ubuntu Server on our VM. If you need help on running through this installation process, refer back to the last article where we show the whole process.
Couple Of Points
I would like to point out a couple of items that you should keep in mind when creating your virtual machines if you looking to continue with this article series.
- We will be creating 3 virtual machines for our Kubernetes cluster.
- I kept the resources the same for all 3 virtual machines.
- The first machine:
- I named the virtual machine “Cluster1-ControlPlane1”.
- I named the server (during Ubuntu Server installation) “c1-cp1”.
- I set the IP address of this VM to 192.168.86.51.
- The second machine:
- I named the virtual machine “Cluster1-Node1”.
- I named the server (during Ubuntu Server installation) “c1-n1”.
- I set the IP address of this VM to 192.168.86.52.
- The third machine:
- I named the virtual machine “Cluster1-Node2”.
- I named the server (during Ubuntu Server Installation) “c1-n2”.
- I set the IP address of this VM to 192.168.86.53.
I will also be using one additional virtual machine down the line a little bit. We will use this machine to install Helm, which is a Kubernetes package manager. I also use this machine to administer (or direct) my Kubernetes Cluster. I usually name this virtual machine “Director”.
- Kubernetes “Director” machine:
- I named the virtual machine “Director”.
- I named the server (during Ubuntu Server Installation) “director”.
- I set the IP address of this VM to 192.168.86.58.
In the next article, we will look to install Kubernetes on these machines and set up our one Control Plane and two Nodes.
>> Next Kubernetes Cluster
Hope to see you then!